
Bellybands
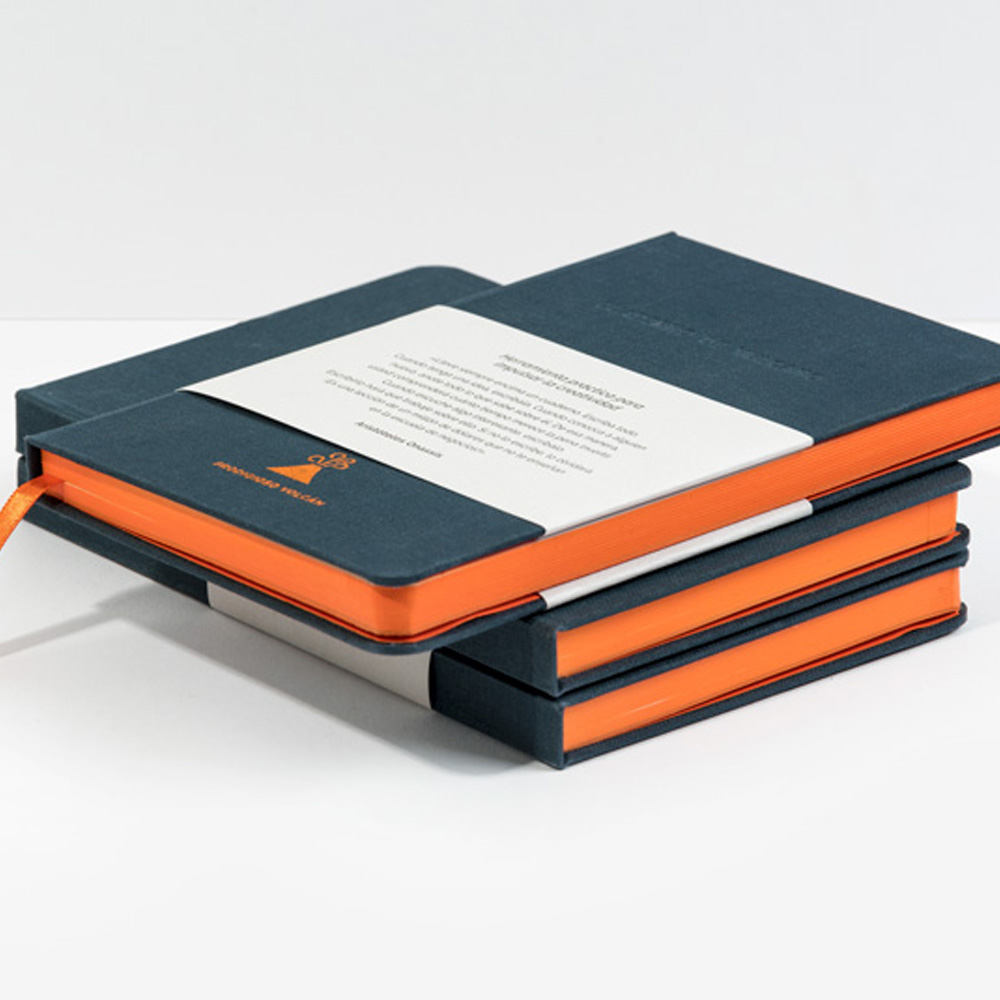
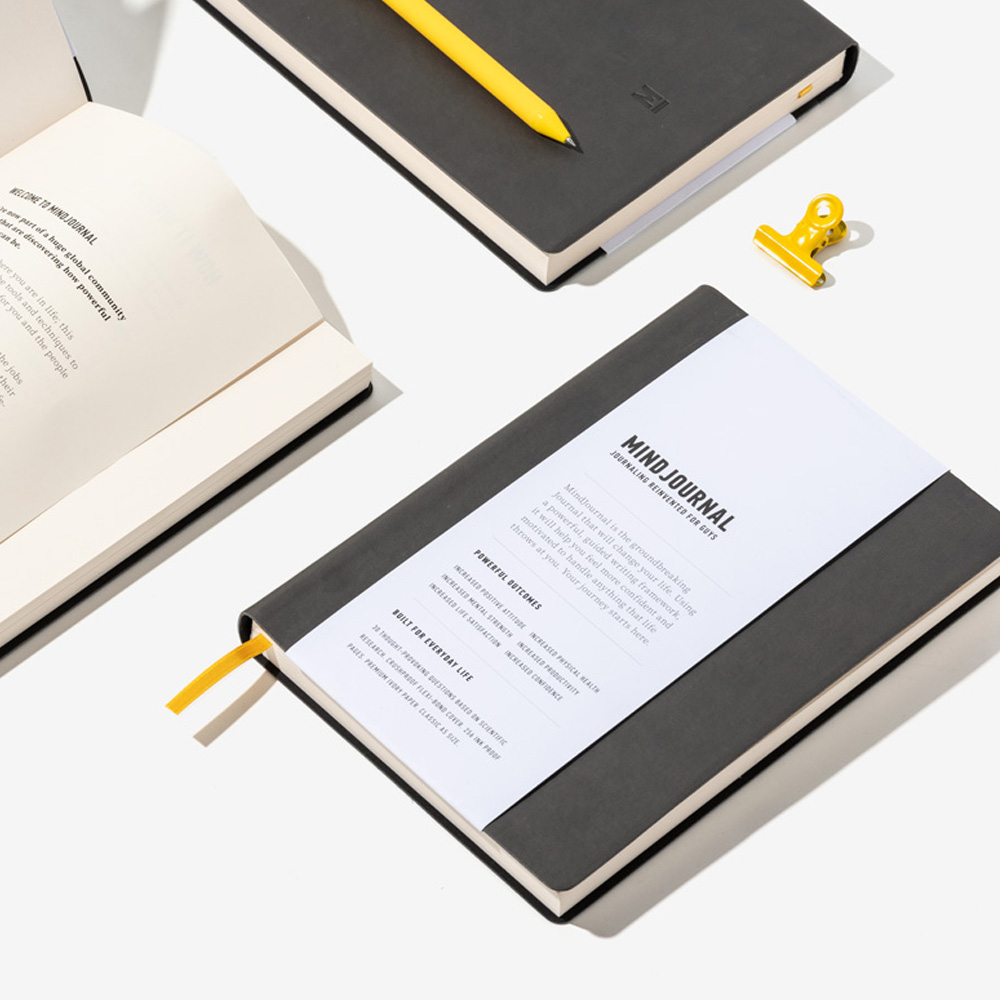
A bellyband is a custom-printed paper sleeve that wraps around a notebook, securing it closed or serving as a decorative branding element. It’s an excellent way to showcase key details such as your brand, product features, or design highlights.
Commonly used by premium stationery brands, bellybands add a sophisticated touch, enhancing the perceived value of your notebook.
Available in various widths, bellybands can be designed both vertically and horizontally. To find the perfect style for your needs, consult your account manager for available templates.
Fully customizable, bellybands offer a range of branding options, including printing, foiling, debossing, die-cutting, and UV spot varnish. For additional finishes like lamination or specialty paper sourcing, please speak with your account manager.
Typically produced on heavier-weight paper (170gsm–250gsm), bellybands are often color-matched to the inside of the journal. For example, if your journal’s inner pages are ivory, the bellyband paper would complement this tone.However if you wanted to opt for a more bespoke touch, we also offer bellybands in colored and black card stock.
FSC® Logotype
All of our standard papers and boards are FSC®-certified and acid-free, ensuring responsible sourcing and longevity. To emphasise your notebook’s sustainability, ask your account manager for our FSC® logo to add to your belly band
Setting up artwork for Belly bands
Basic printed bellybands require print-ready PDFs that include a full-colour range and are prepared with 300 dpi resolution and CMYK colour profiles. Ensure you vectorise all logos, illustrations or text to maintain clarity at all sizes.
- Your logo or design should be in vector format.
- Ensure all text is ‘outlined’ to make it vector format
- Your file has 5mm bleed
- PDF should be exported to CMYK Colour
- PDF Should be exported with all marks and bleeds
- Name and organise your layers correctly within the template
Do’s:
- Add UV Spot Varnish to make parts of your design more vibrant and stand out
- Consider the sizing of your fonts and design elements
- Be creative with the positioning and utilise all the available spaces to list information
Don’ts:
Don’t overcomplicate your design as it can take away from the elegant feel of a bellyband
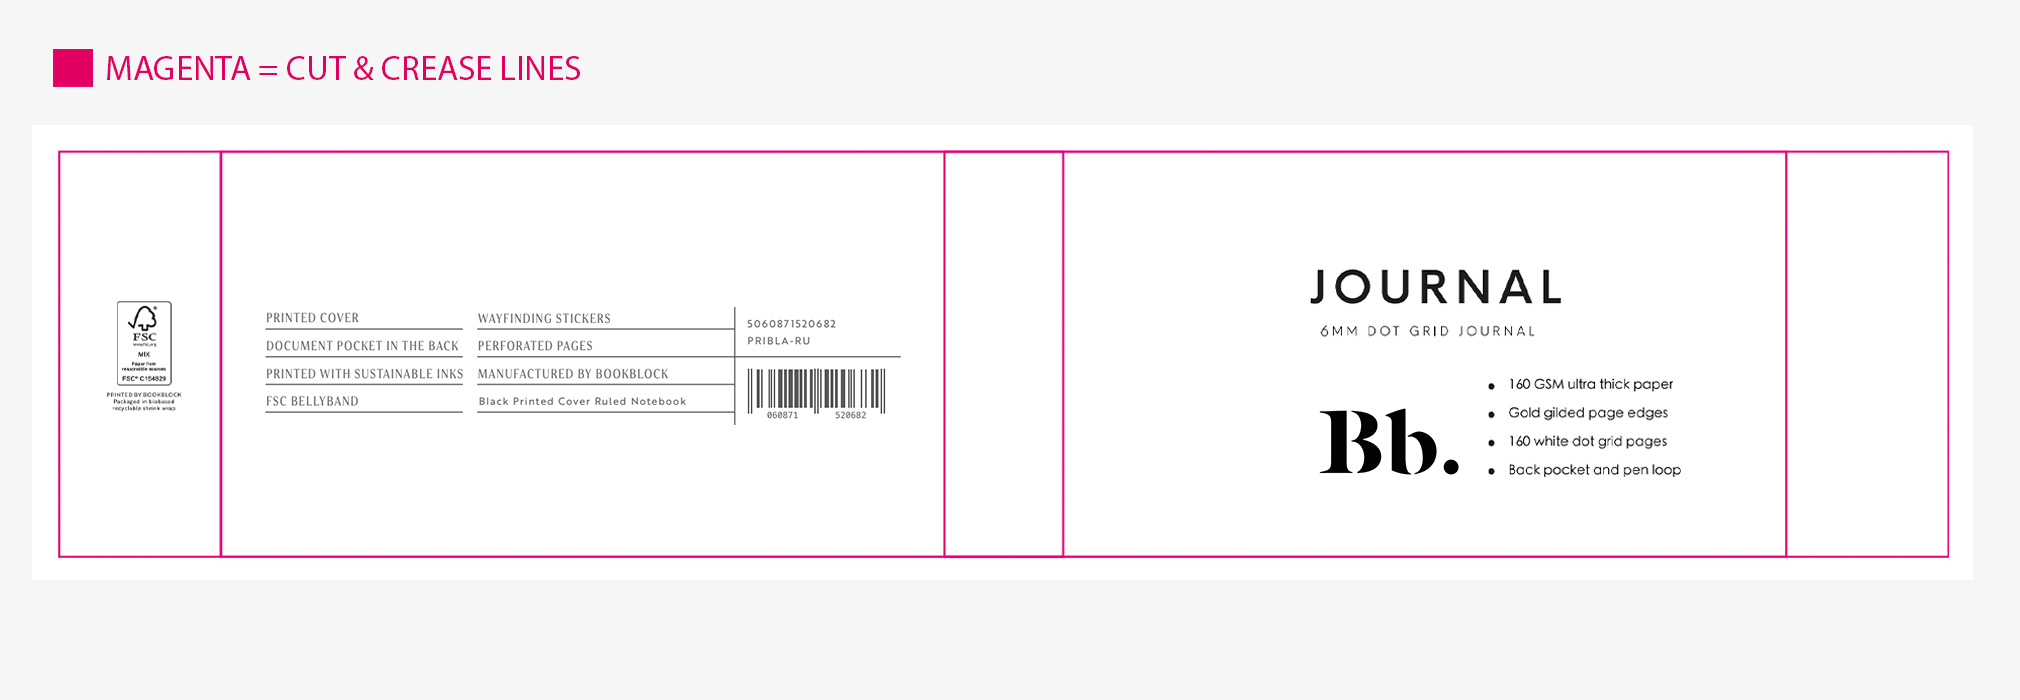
Populating our templates is very straight forward, simply open the template file with Adobe Illustrator and populate it with your designs. The template we will provide you with is ready to print and inclusive of the necessary bleed marks. Just ensure that all of the design elements you add into the template meet our requirements.
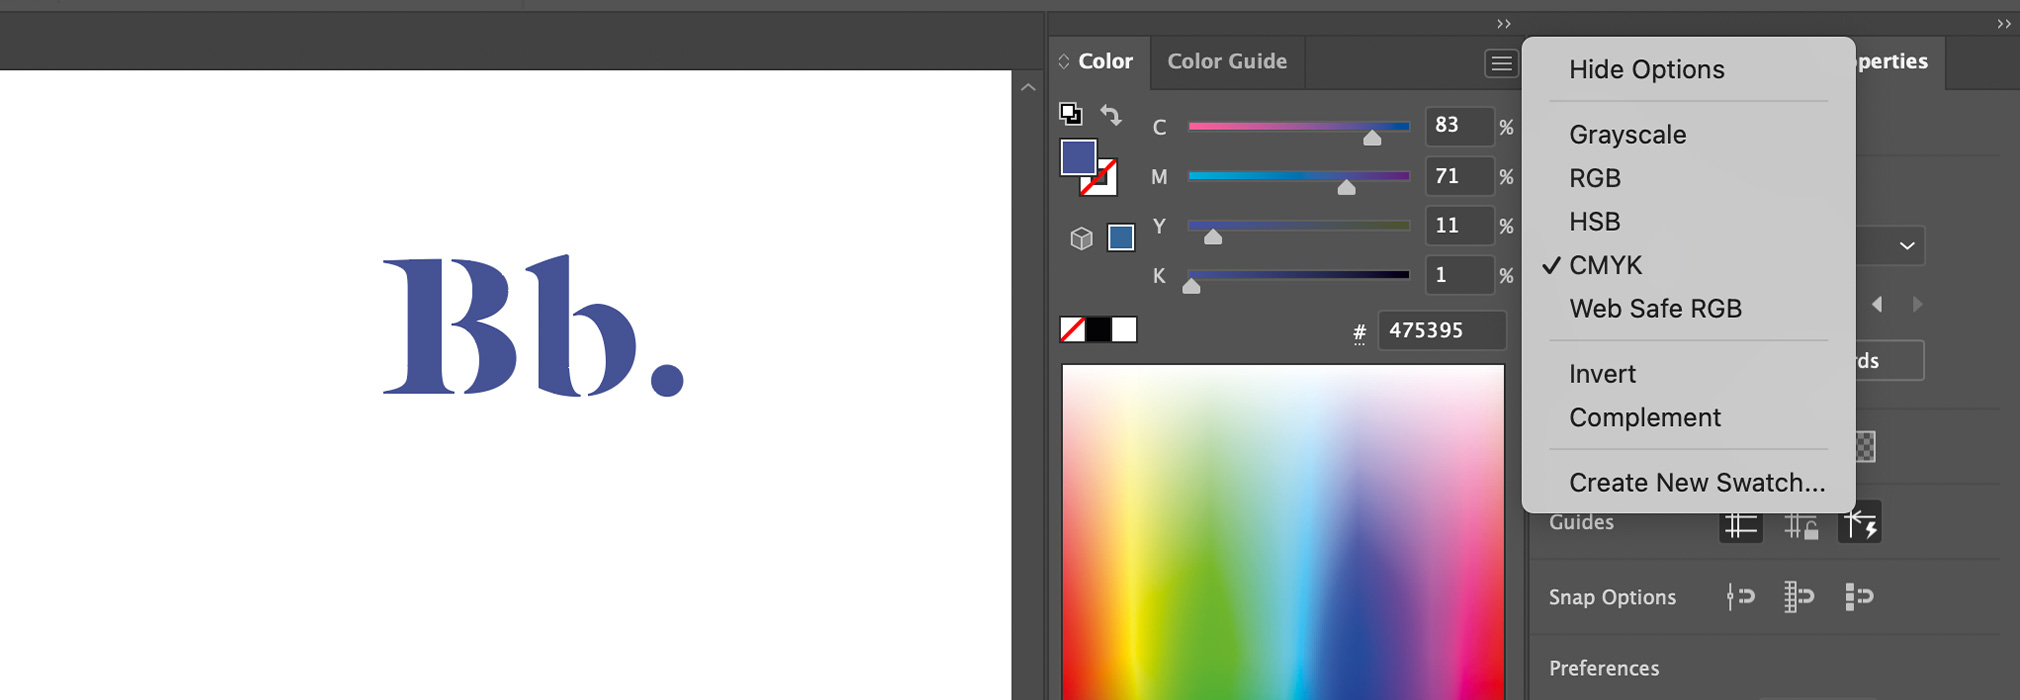
We require artwork to be provided in CMYK+W (Cyan, Magenta, Yellow, and Key/Black and White) for accurate colour reproduction during the printing process. Using the correct colour profile ensures that your designs come out exactly as expected, avoiding any unwanted shifts in colour. Illustrator allows you to embed CMYK and pantone colours directly into the file. You can do this following the steps below:
File > Colour Mode > Select the CMYK profile.
You can then see in the colour view that all the solid colours you’re inputting are set to CMYK.
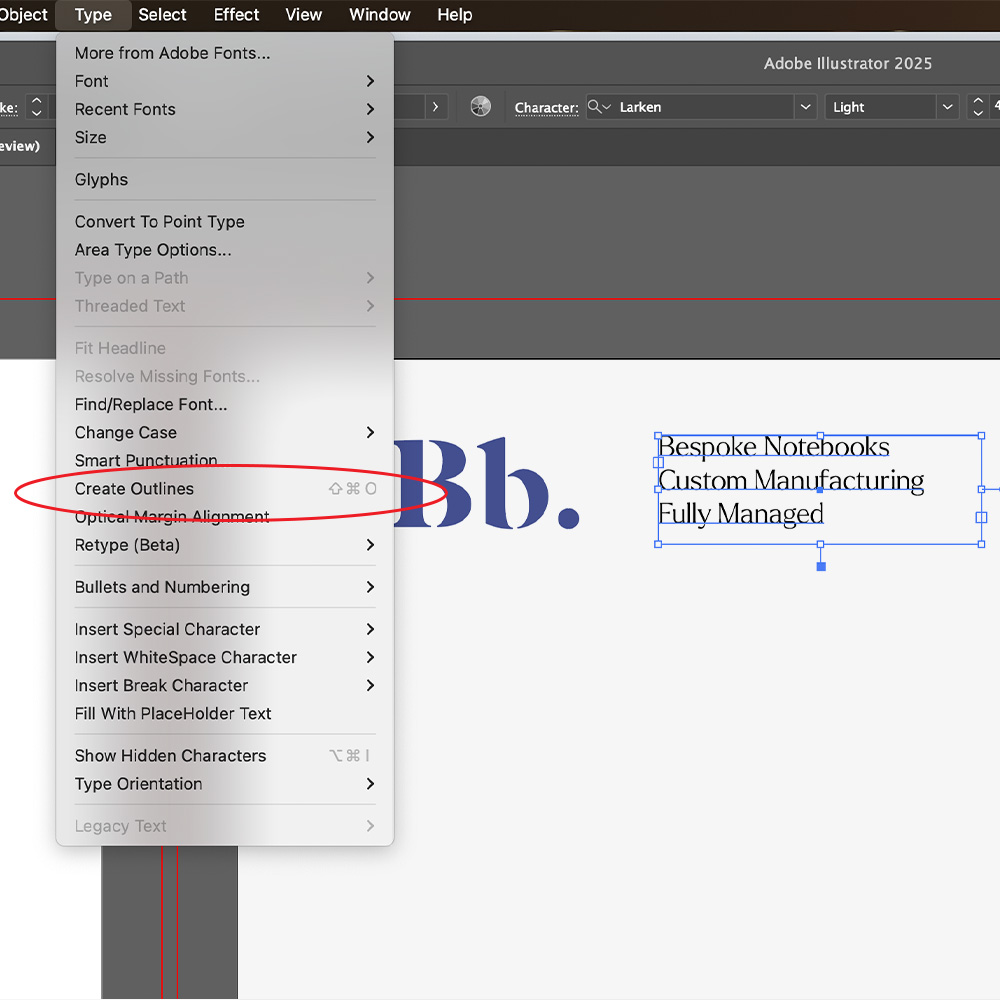
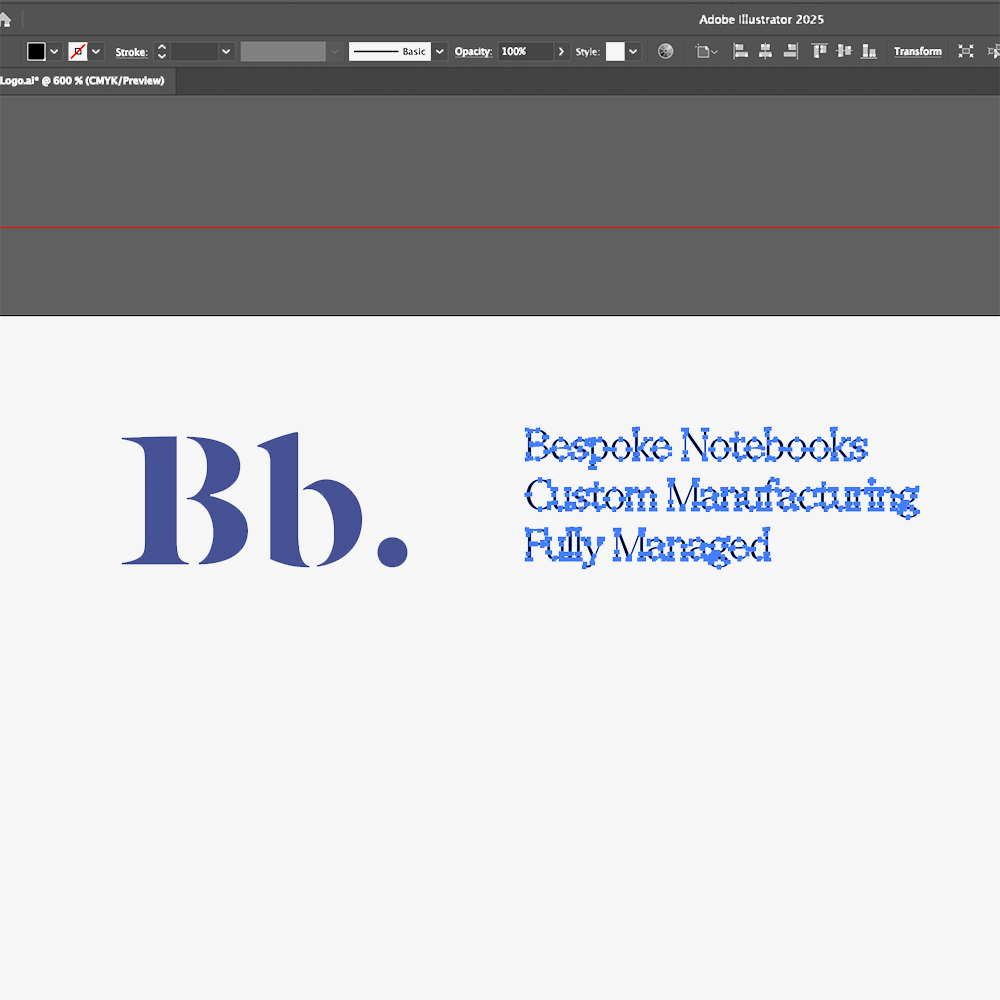
Vectorising Text Layers
Outline your text, this ensures that there are no missing fonts or changes in typography styles when files are supplied for print.
How to: Select the text you want to outline, go to the menu and select Type > Create Outlines (or press Shift + Ctrl + O on Windows / Shift + Command + O on Mac).
Adding Images / Photos To Your Artwork
Artwork Images should be exported to CMYK, 300 dpi and then embedded within your files. You can use photoshop to export your image files to the correct colour profile and resolution following these steps:
Open Photoshop > New Document > Then choose a preset or enter the document size and remaining details. Just ensure that your resolution is 300 dpi and colour mode is set to CMYK.
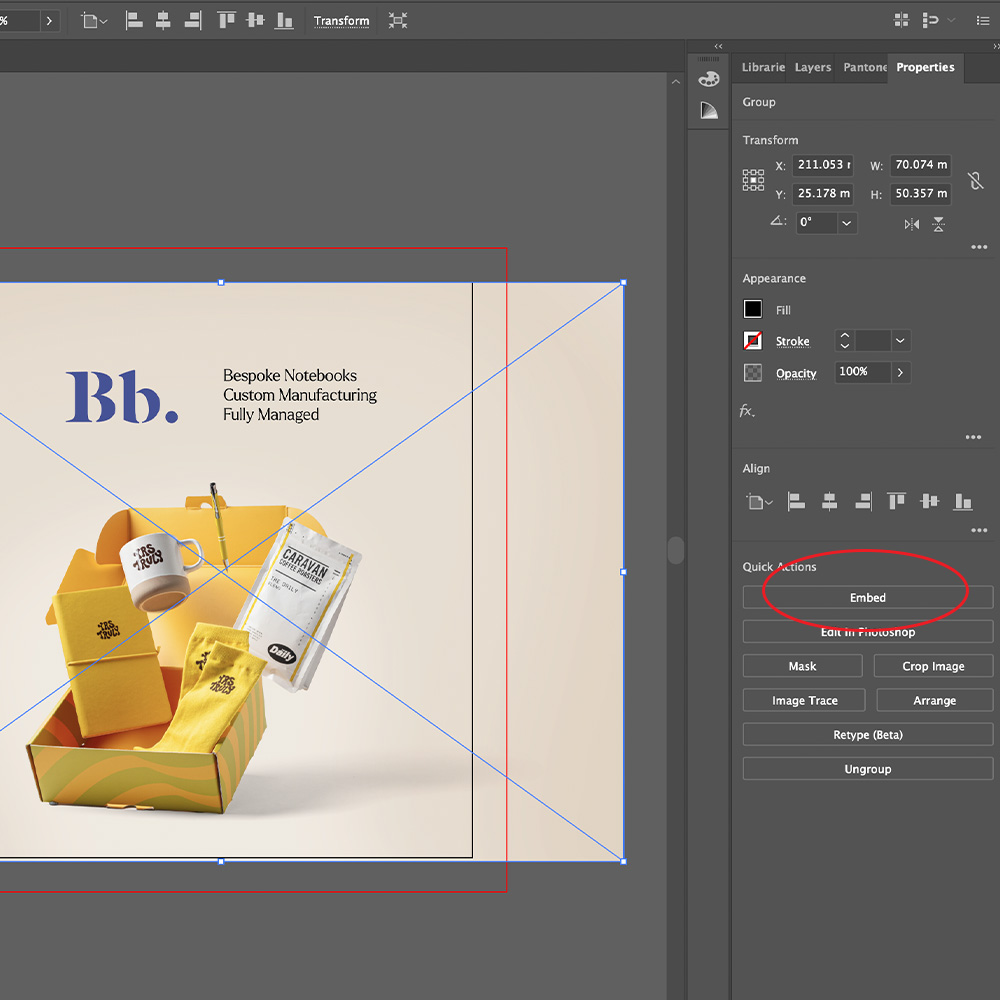
To embed a file in Illustrator, simply click on the image you’ve added, then click on the image you want to embed, go to the properties panel to the right and select the ‘Embed’ button.
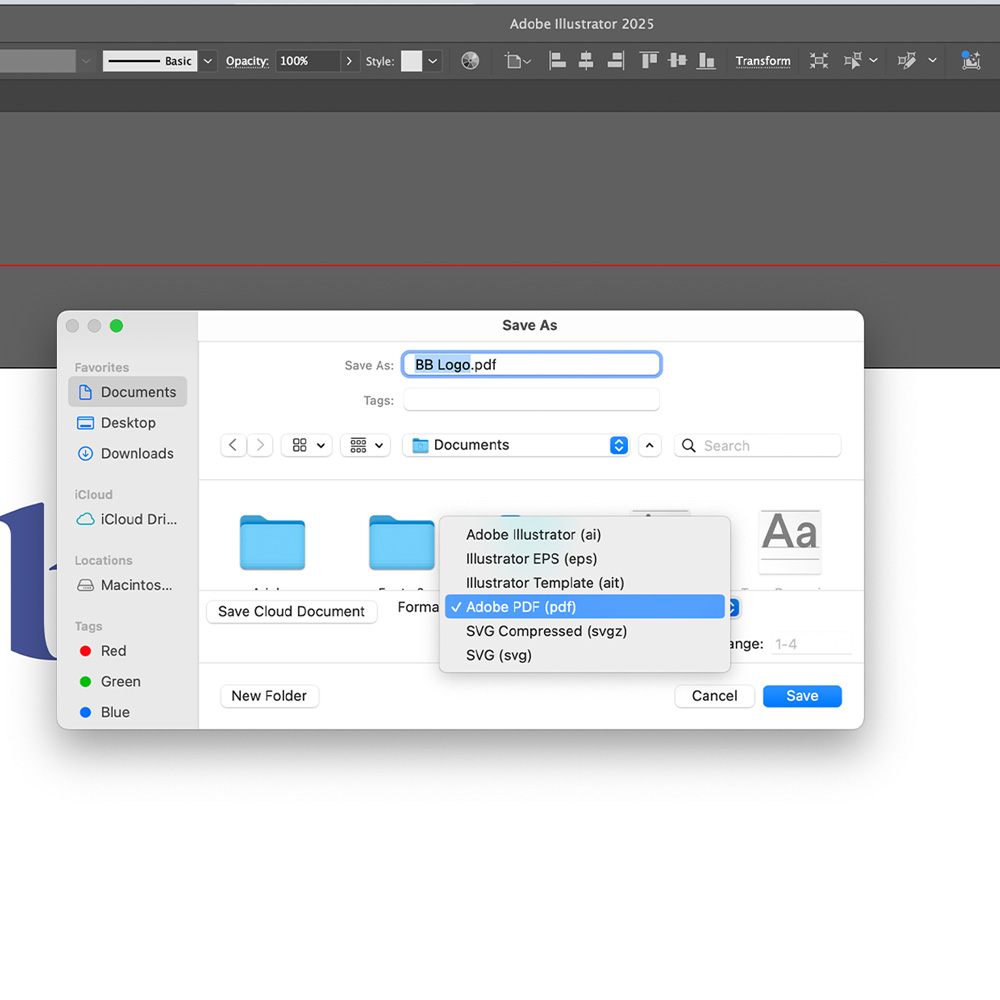
Your artwork should then be ready to be saved as a PDF, this can be done by clicking:
File > Save > Click dropdown > Adobe PDF.