

Setting up artwork for Die Cutting
Populating our templates
Populating our templates is very straight forward, simply open the template file with Adobe Illustrator and populate it with your designs. The template we will provide you with is ready to print and inclusive of the necessary bleed marks. Just ensure that all of the design elements you add into the template meet our requirements.
File Requirements for Die Cutting:
- The smallest circle that can be produced must be at least 3mm in diameter
- 3mm space between each character/ icon
- The minimum thickness for any element is 3mm / 8.5pts
- The minimum font size is 11pt
- Die-cut areas need to be 1cm away from any edges
- Cut out areas need to be marked with Magenta colour (CMYK 100% M value)
- Ensure your letters and icons don’t include elements that risk being cut out. See examples below.
- Text must be vectorised (outlined)
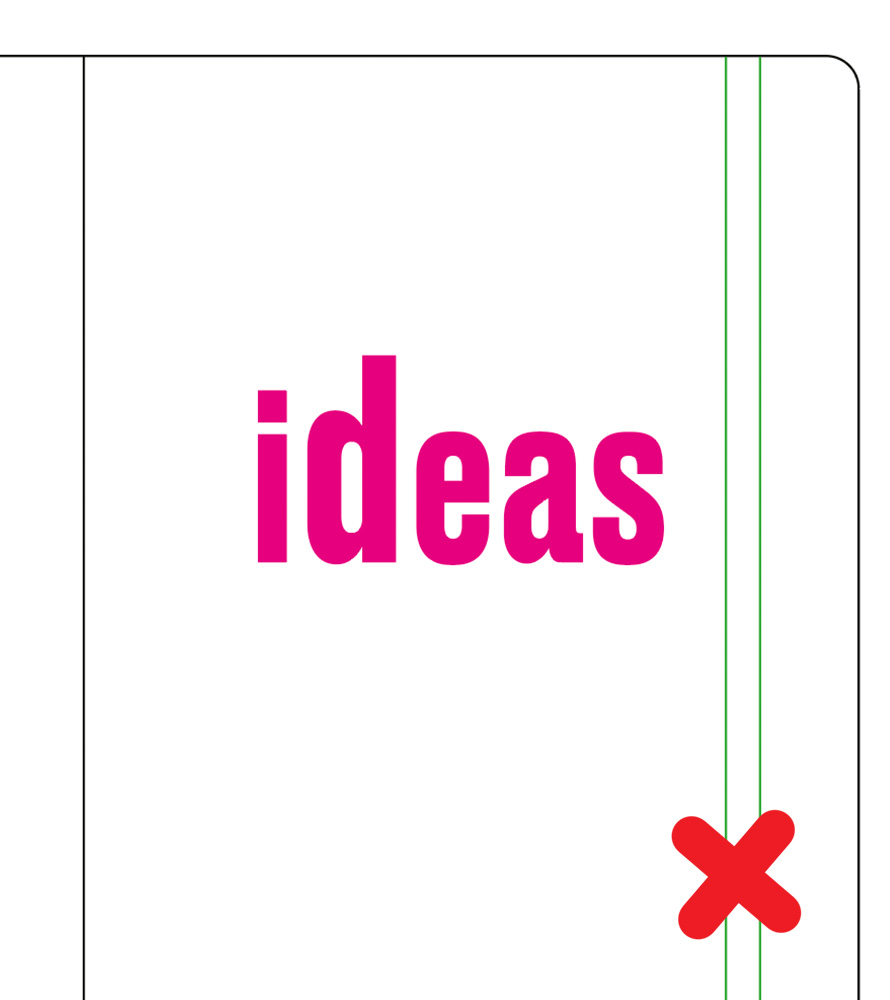
Wrong: Includes areas that will be lost

Correct: Cut out areas are accounted for
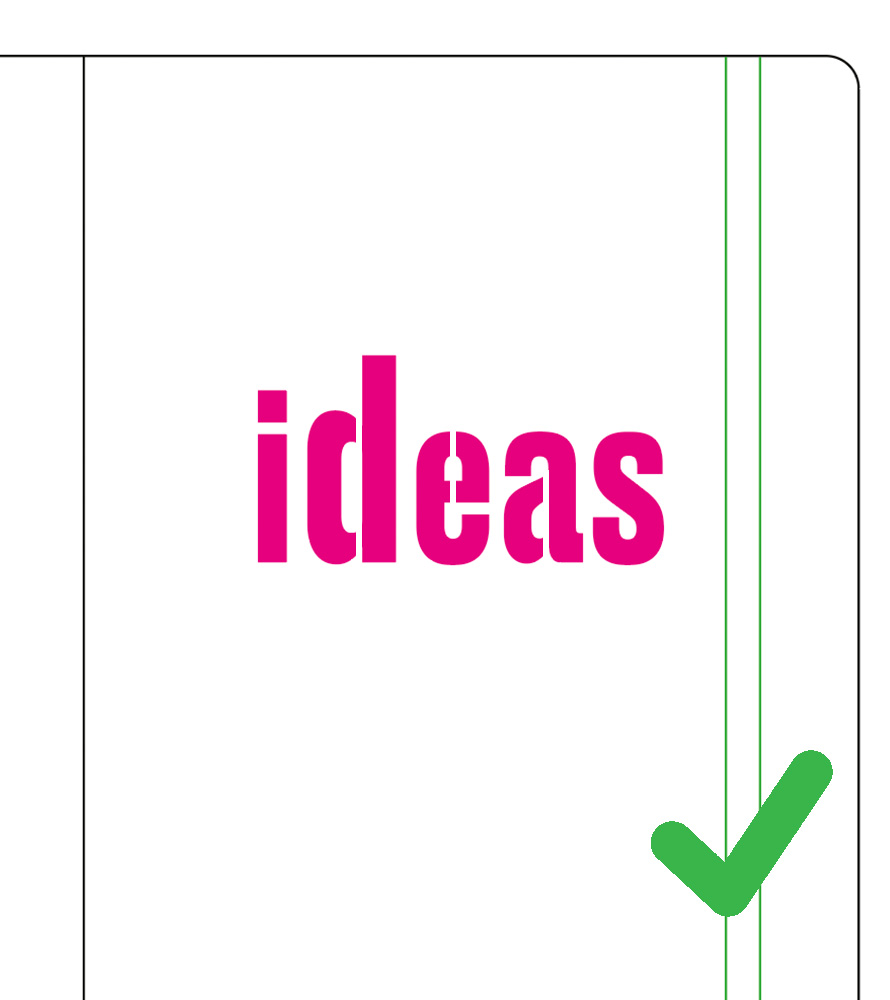
Correct: Cutout areas are connected
To set your cut out areas to a magenta colour you need to ensure the document is set to CMYK colour profile (File > Document Colour Mode > CMYK). Then select the icon or text that you wish to cut out and click the ‘properties’ panel on the right hand side. Double click on the Fill container and slide the M value to the right until it reaches 100% value. Ensure all CMYK values are as follows : C0, M100, Y0, K0.
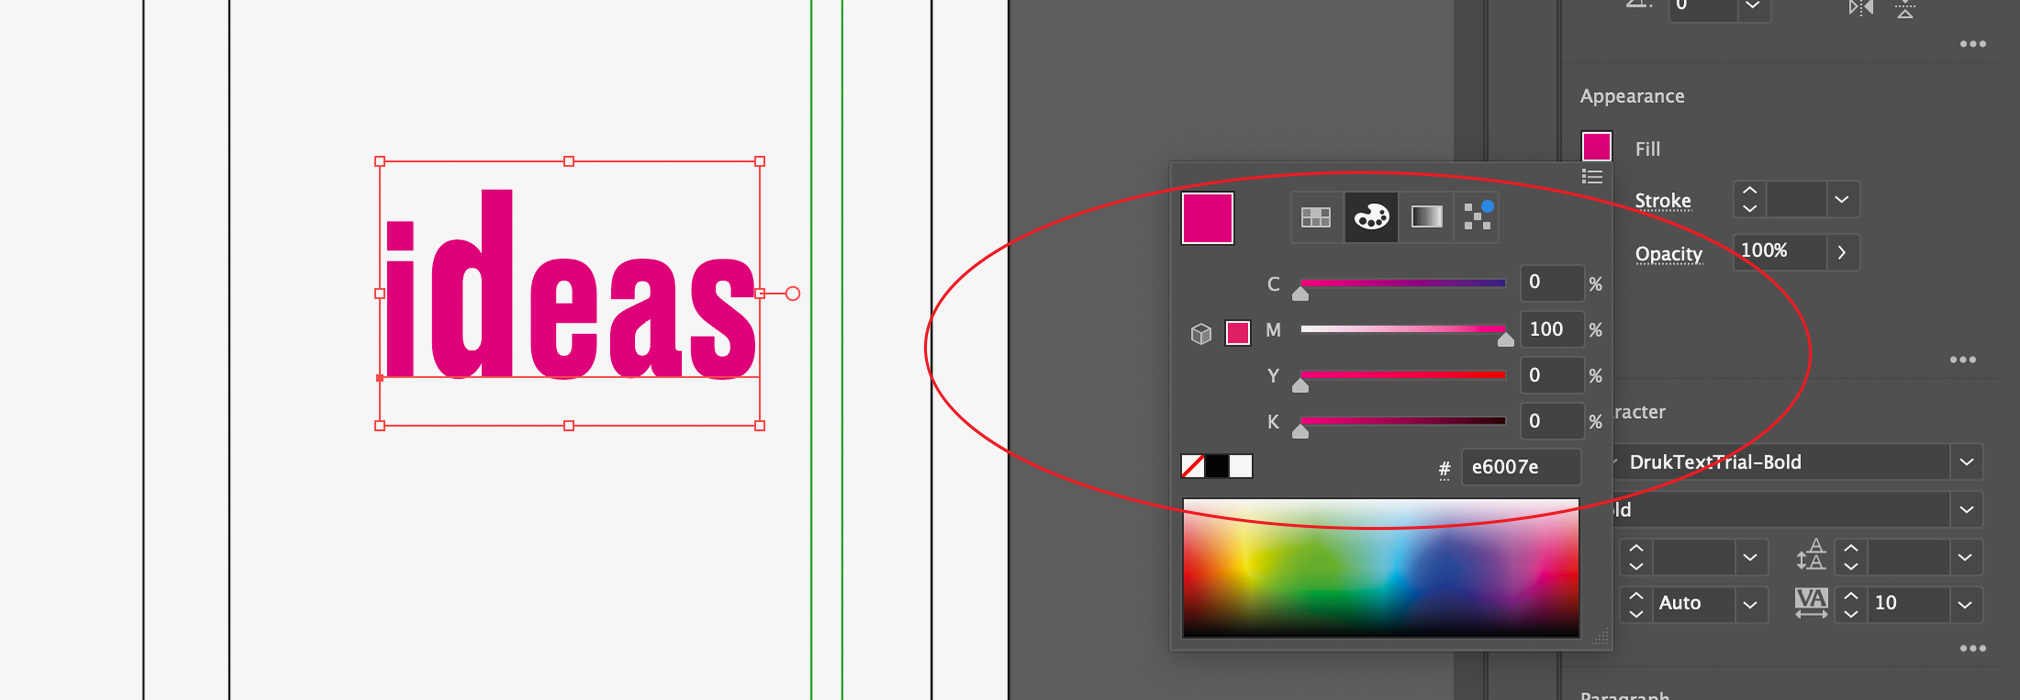
In CMYK profile ensure the magenta is 100% M value
Vectorising Text Layers
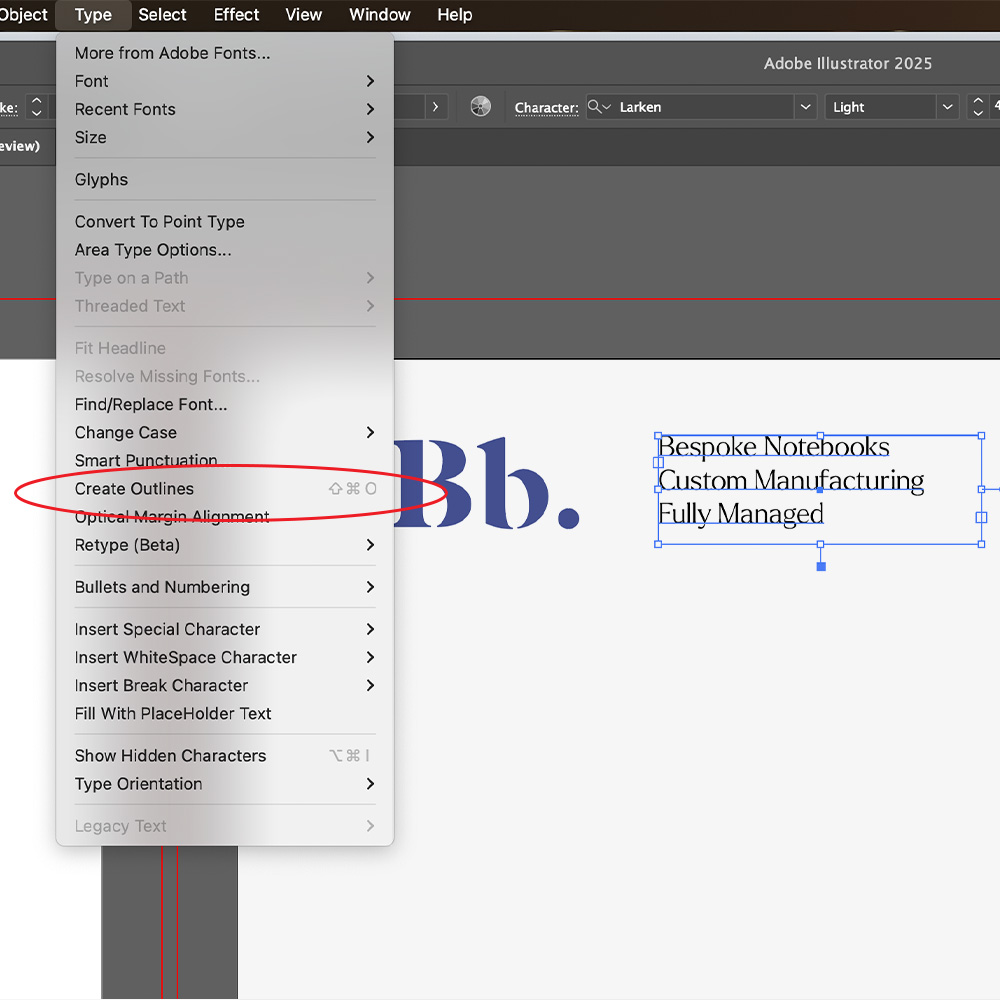
Outline your text, this ensures that there are no missing fonts or changes in typography styles when files are supplied for print.
How to: Select the text you want to outline, go to the menu and select Type > Create Outlines (or press Shift + Ctrl + O on Windows / Shift + Command + O on Mac).
Die Cutting
Die cutting is a process that uses a metal die stamp to create clean and precise cut-outs in the cover material of a notebook. The process leaves the notebook cover with cut-out spaces which act as windows displaying the inside of the notebook.
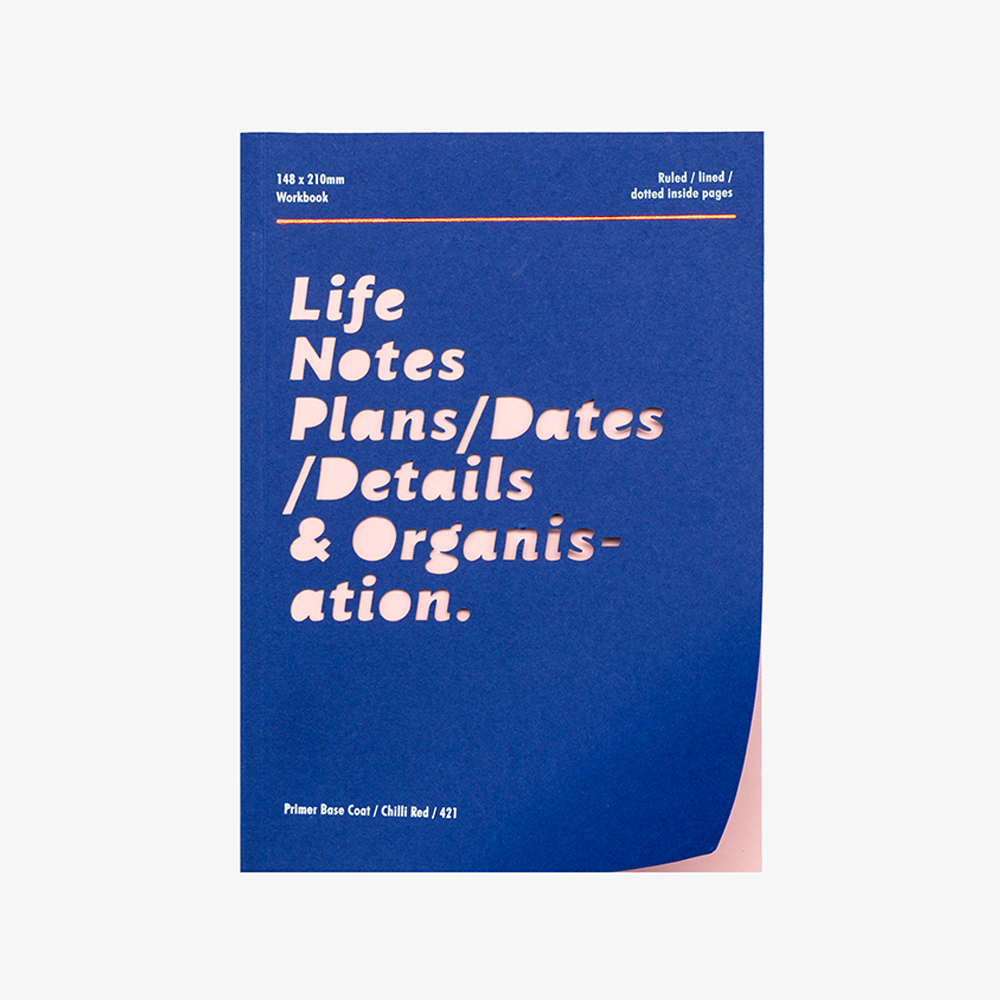
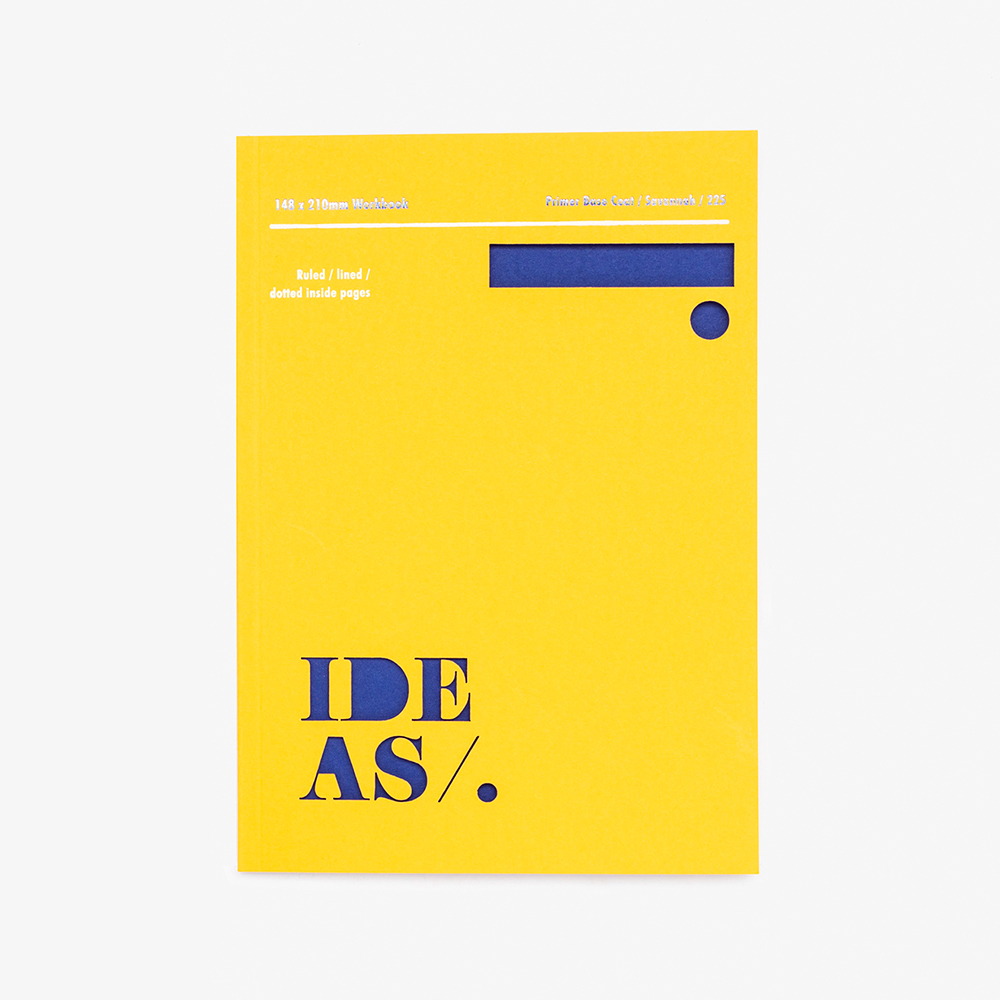
Die cutting is a simple process but it can create a very effective look when cleverly paired with endpapers. The cut out windows give the user a peek inside the notebook, with the first pages often being either solid colour or printed to create an impactful contrast. When die cutting your notebook, consider the end papers you want to feature as this will highly affect the final outcome of the cover.
What notebooks am I able to die cut?
Softcover notebooks and cahiers make the perfect candidates for die cut covers, our most suitable options include:
Do’s:
- Consider the colours and patterns of the page behind that will peep through the cutout windows
- Ensure your letters and icons don’t include elements that risk being cut out. See examples below.
Dont’s:
- Don’t feature very large cutout areas as this will compromise the stability of the page or cover.
- Don’t overcomplicate your design – keep it simple and effective.