

Understanding Vector Layers
A vector image is created using points, lines, and curves that are placed using mathematical equations. This allows software to redraw the image at any size (larger or smaller) without losing quality.
For example, if you design a logo as a vector, it will stay crisp whether it’s on a small business card or a giant billboard.
In contrast, a non-vector (raster) image, like a JPEG or PNG, is made of pixels (tiny colour squares). When you enlarge the image, those pixels stretch, causing it to become blurry and pixelated.
Example: JPG image made up of colour pixels
Example: Vector shape made with points, lines and curves
Providing vector files for print is important because they ensure high-quality, crisp, and scalable designs.
What are some vector formats? Vector files come in a range of file formats including:
.AI (Adobe Illustrator)
.SVG (Scalable Vector Graphics)
.EPS (Encapsulated PostScript)
.PDF (Sometimes, if saved as a vector)
Important: Please note that placing a raster image (JPG or PNG) into Illustrator and saving it as an .AI file does not convert the image into a vector.
How to check if your logo is a vector?
Open the logo file in Adobe Illustrator and click on the logo.
If you can select and edit individual shapes, lines, and points, it’s a vector.
If it’s just one flat image with no editable parts, it’s a JPEG or raster image.
What should be vectorised?
Logos – all logos should be provided in a vector format, if you are unable to provide this, there are ways you can vectorise the logo. Please note this may impact the logo design if you’re using a low resolution image to recreate the logo.
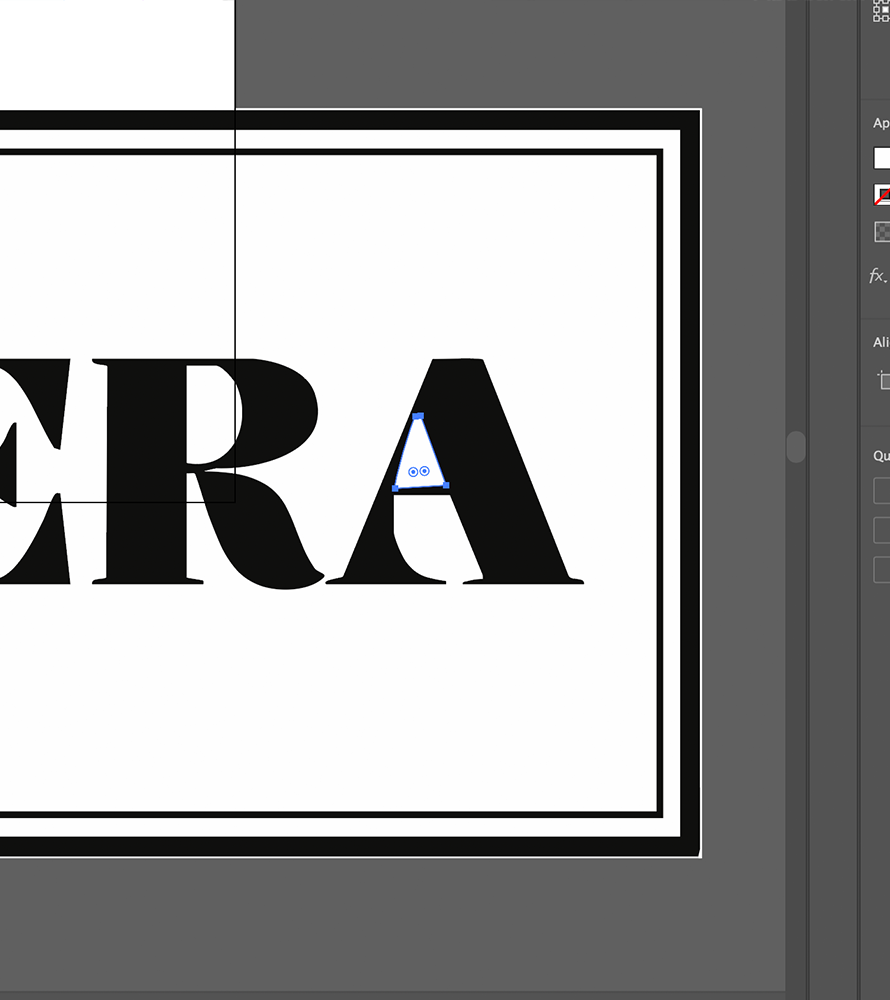
Text – All text should be vectorised. In Illustrator you can simply ‘outline’ your text, this ensures that there are no missing fonts or changes in typography styles when files are supplied for print.
How to: Select the text you want to outline, go to the menu and select Type > Create Outlines (or press Shift + Ctrl + O on Windows / Shift + Command + O on Mac).
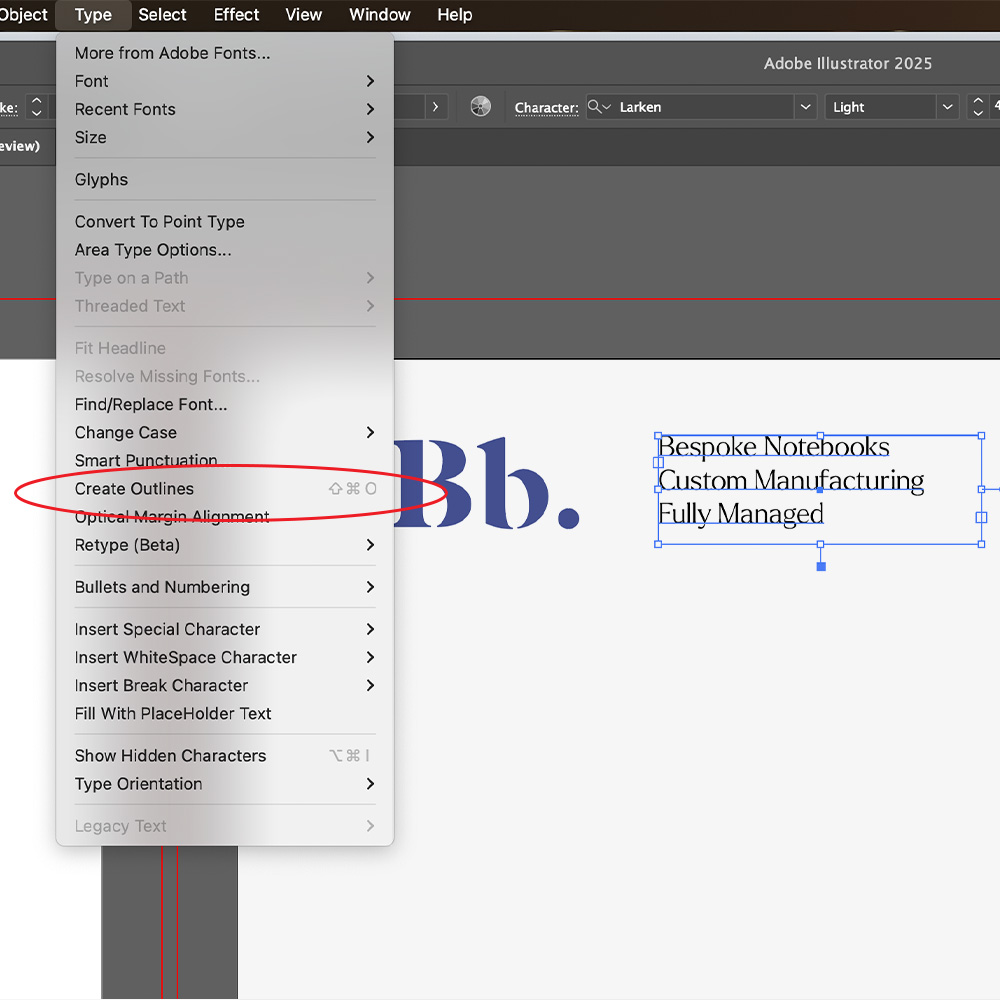
Type > Create outlines
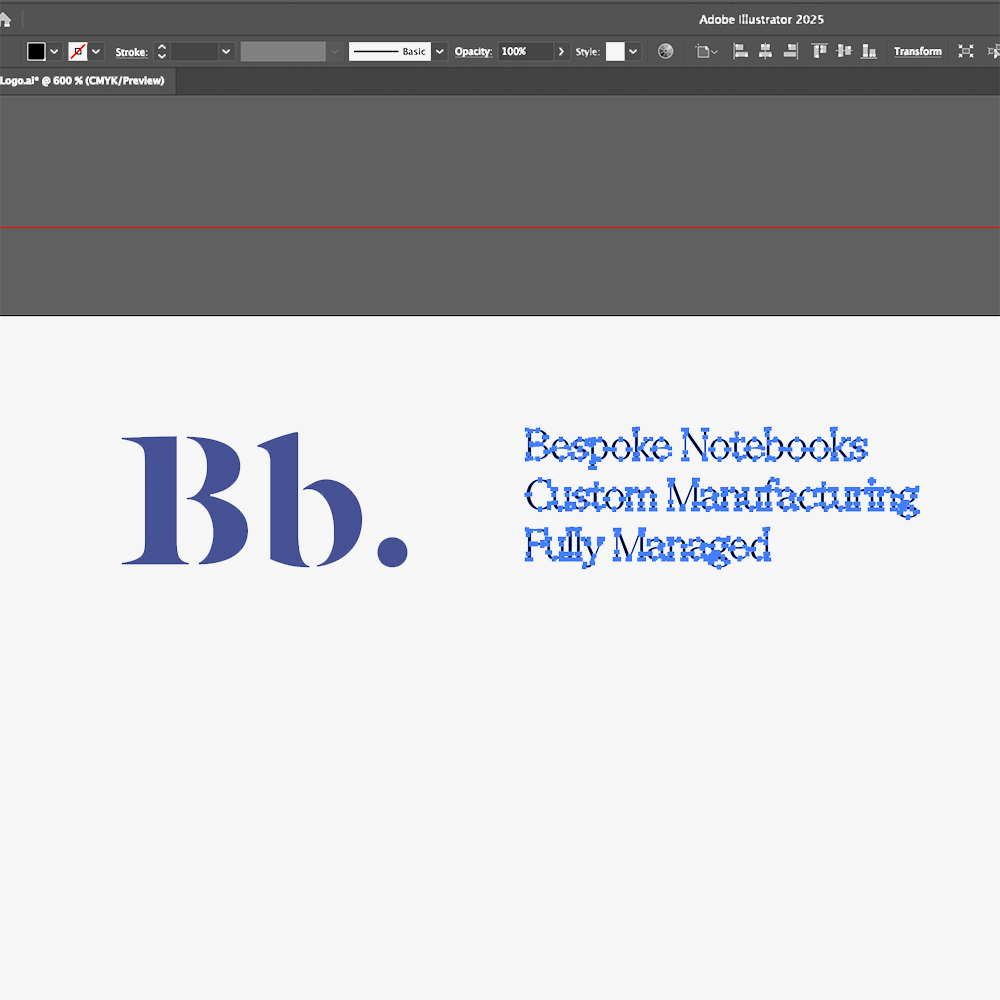
Vectorised Text
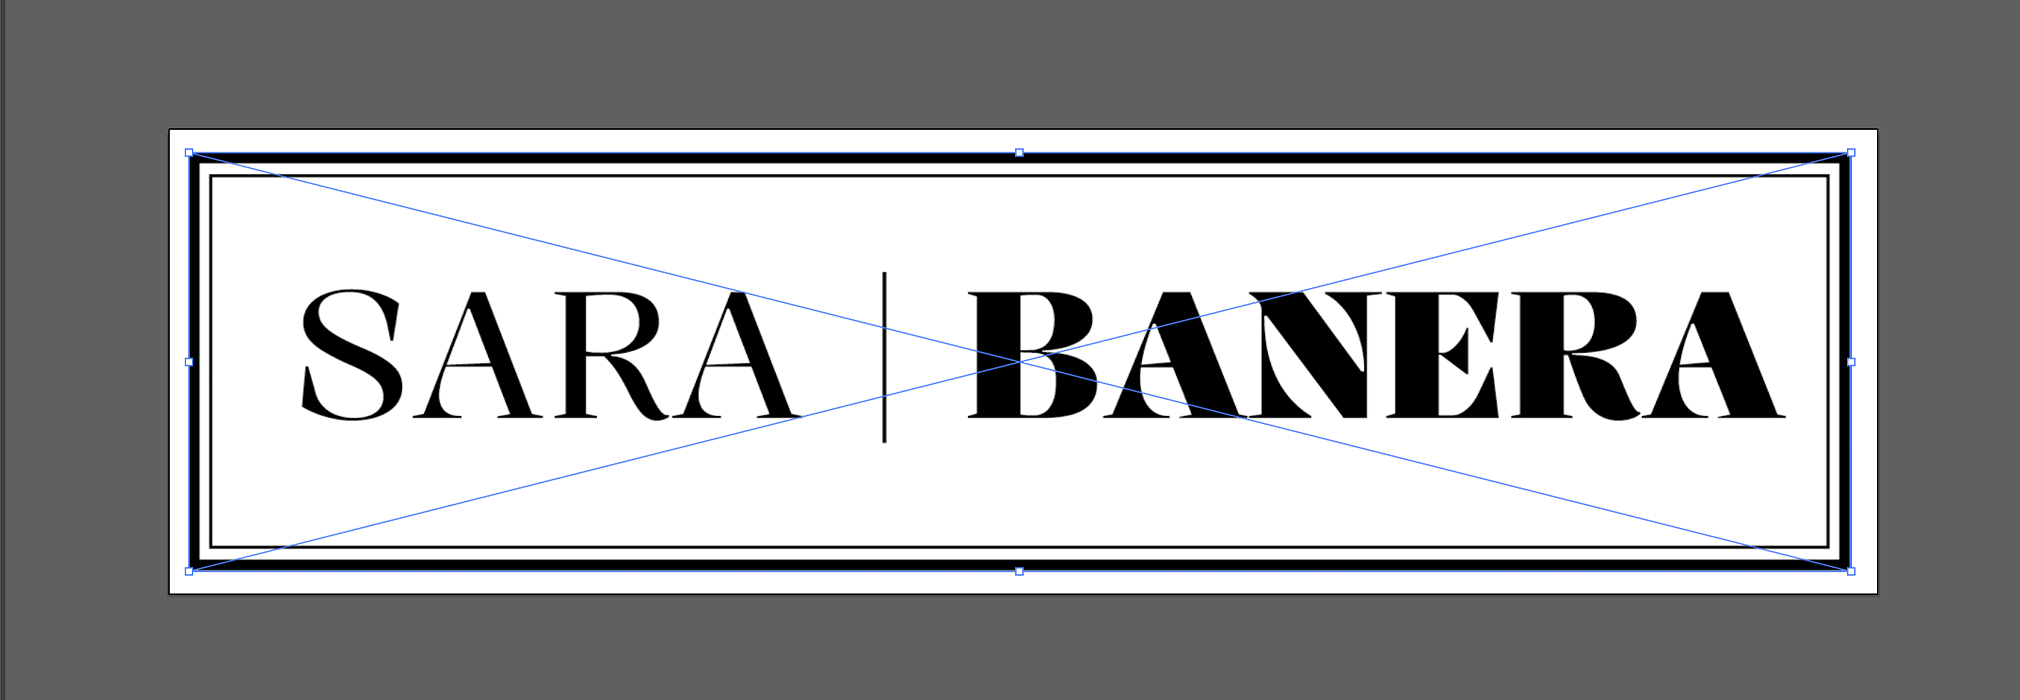
Graphics – all graphics should be vectorised. If they have been drawn using illustrator then they will automatically be a vector file, however if you’re using JPG images of graphic illustrations then the image will need to be converted.
How To Convert A JPG or PNG to Vector?
When opening your logo file in Illustrator, you will see that the file has blue markers all around the outside, this means that the file is a flat single layered image (raster).
To convert this file to a vector simply navigate to the properties panel on the right side. In the Quick Actions area click ‘Image Trace’. Select option ‘3 colours’ > Expand.

Select ‘image trace’ in the properties panel

Choose ‘3 colours’ option
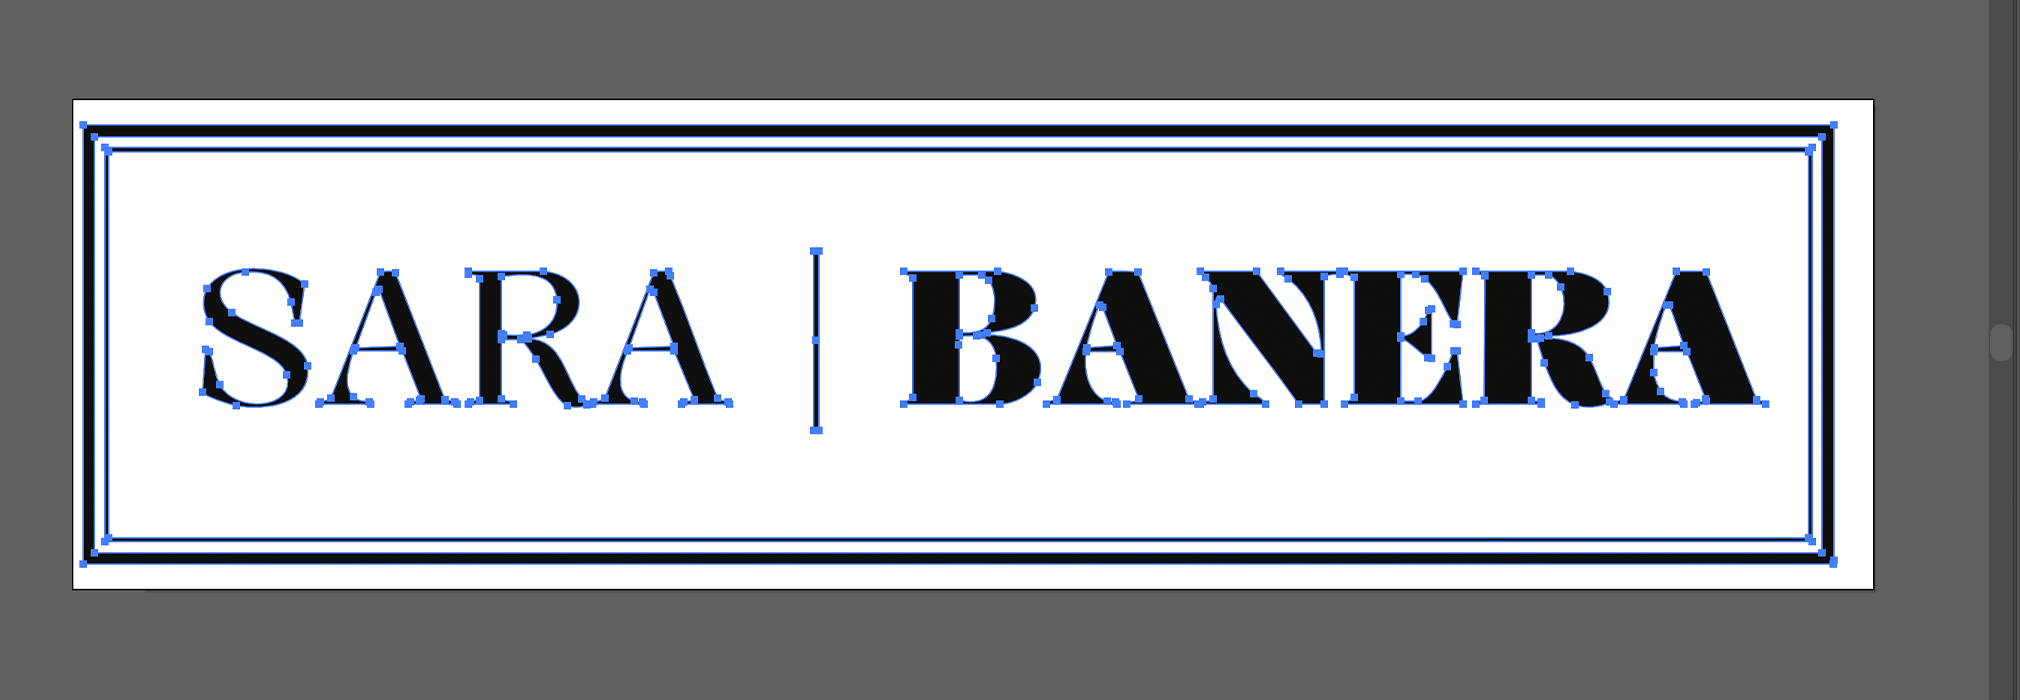
You will now see that each of the elements inside the logo feature anchor points which make each of those elements fully editable and scalable.
Once you’ve done this conversion you may notice that the white background of the original image has been included in the file conversion, you can check this by moving the file slightly off the artboard and seeing that the background is not transparent.

By clicking the ‘ungroup’ button you will release the grouped elements and will then be able to select and delete the white spacing between the letters that you do not want. Please note that depending on the artwork complexity you may need to click ‘ungroup’ multiple times until each element is released.
Once you have ungrouped the elements simply click on the white spaces in between the letters and press delete on your keyboard. Repeat these steps until only the desired elements are left (in this case black lettering only). When done ensure to select all the layers and move all the elements back onto the artboard and save as an Adobe Illustrator file.
Selecting the individual areas you want to delete
Final product