
Setting up artwork for debossing and embossing
Populating our templates
Populating our templates is very straight forward, simply open the template file with Adobe Illustrator and populate it with your designs. The template we will provide you with is ready to print and inclusive of the necessary bleeds. Just ensure that all of the design elements you add into the template meet our requirements;
- Debossed elements are 100% CMYK K value – solid black colour
- Your logo or design should be in vector format.
- All lines must be at least 1.0 point thickness (0.352mm)
- Allow at least 1mm spacing between elements
- Place the logos at least 6mm from any edges of the notebook unless choosing full bleed design
- Smallest font should be 11pts
File requirements
Submit your cover artwork in a PDF file with all debossed elements as a solid black (CMYK 100% ‘k’ value) vector file. If you’re mixing customisations then you need to submit:
- A file which includes vectorised elements that will be printed
- A separate file with a solid black version of the design that will be debossed
PDF file 1: Printed elements only
PDF file 2: Debossed elements only

Digital proof of final cover desing
CMYK Colour Profile
We require printed artwork to be provided in CMYK+W (Cyan, Magenta, Yellow, and Key/Black and White) for accurate colour reproduction during the printing process. Using the correct colour profile ensures that your designs come out exactly as expected, avoiding any unwanted shifts in colour. Illustrator allows you to embed CMYK and pantone colours directly into the file. You can do this following the steps below:
File > Colour Mode > Select the CMYK profile.
You can then see in the colour view that all the solid colours you’re inputting are set to CMYK.
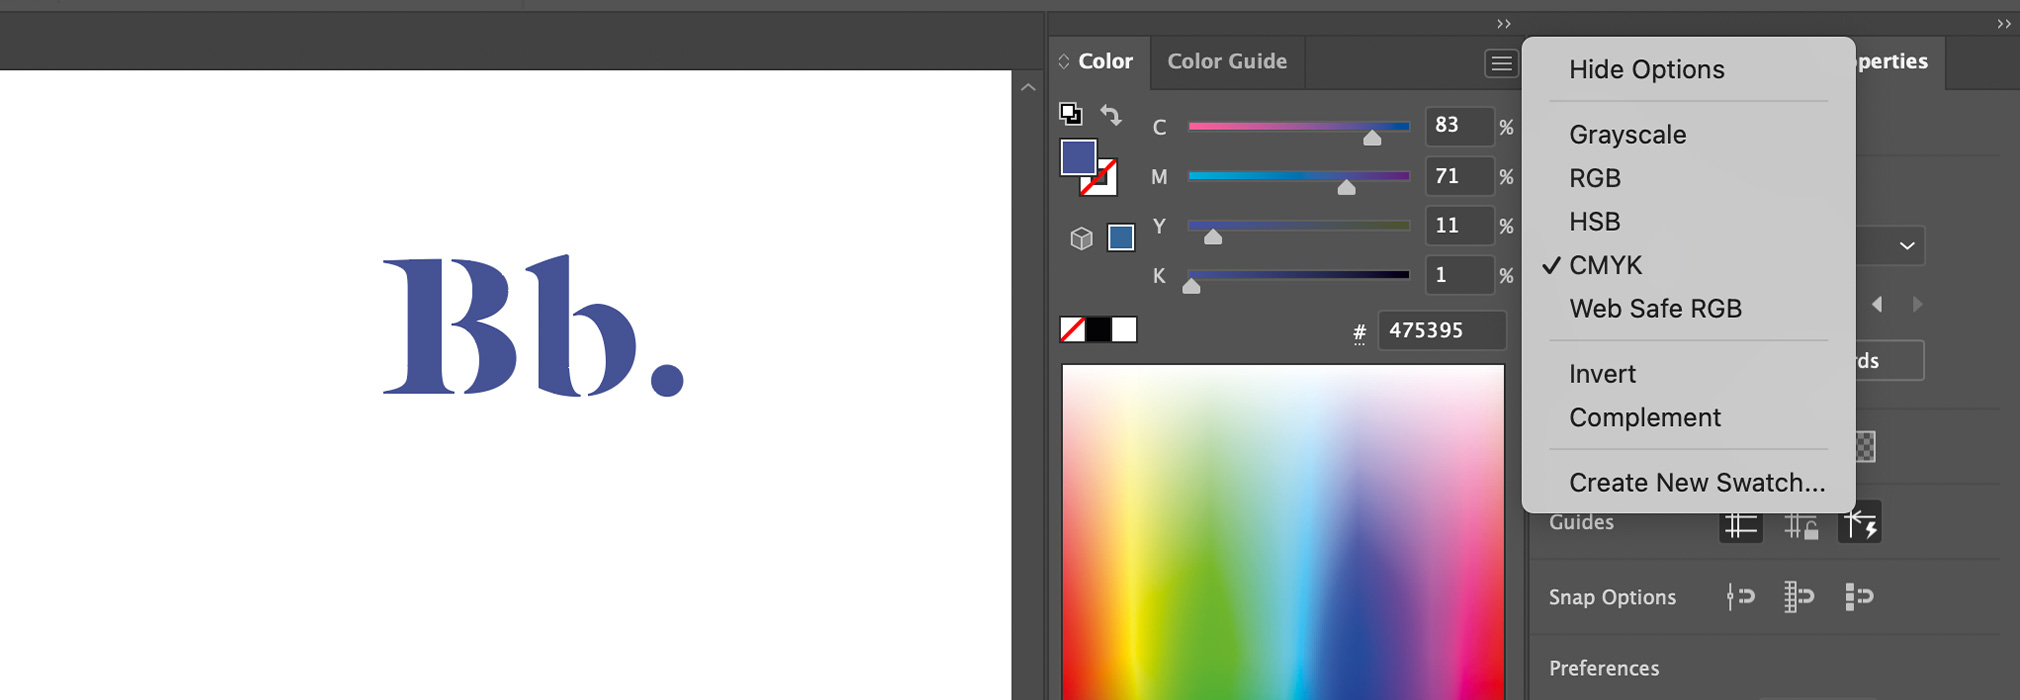
Ensure your working in the correct colour profile (CMYK)
Vectorising Text Layers
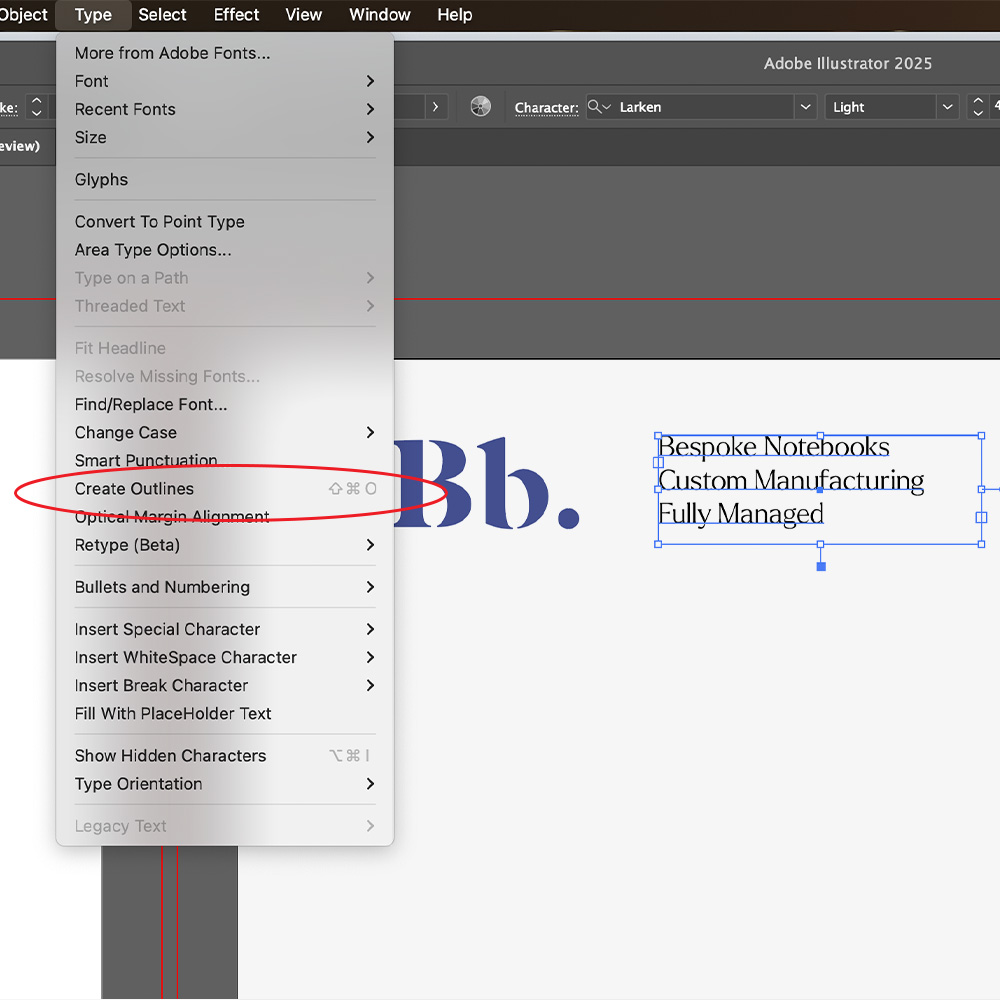
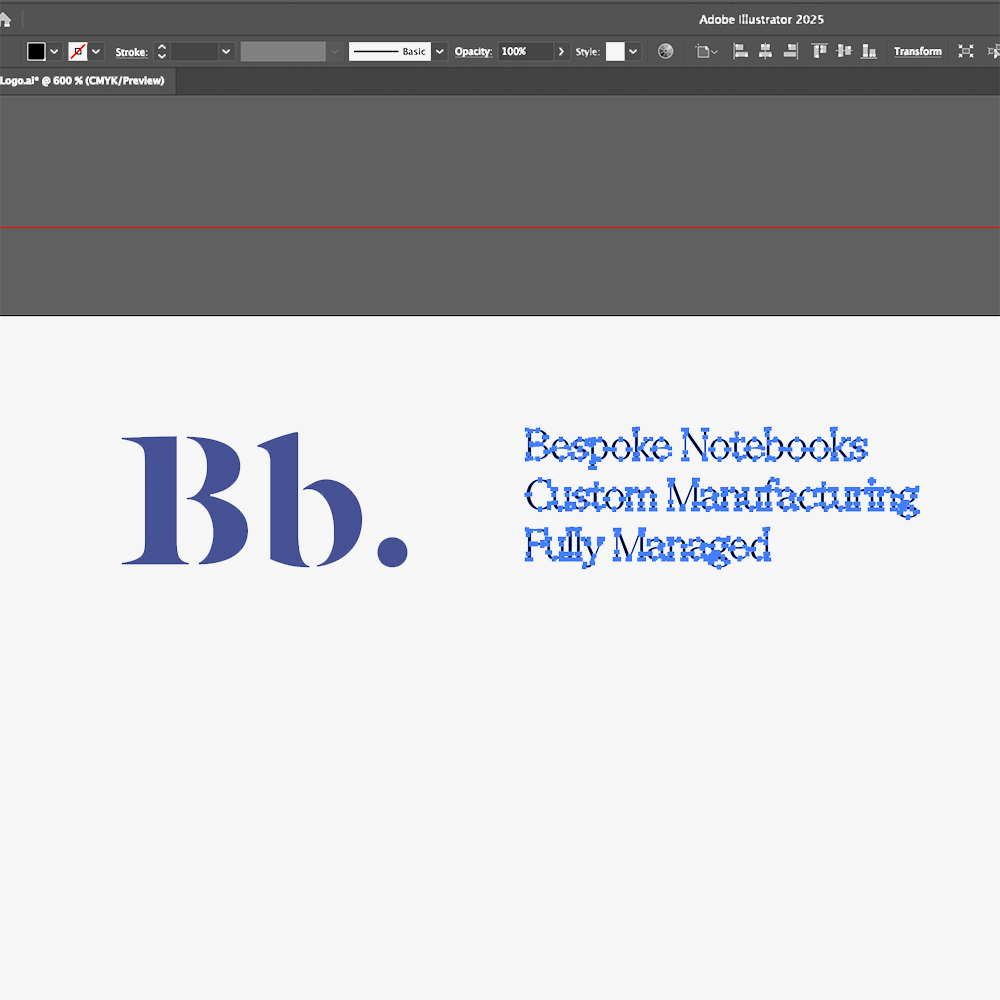
Outline your text, this ensures that there are no missing fonts or changes in typography styles when files are supplied for print.
How to: Select the text you want to outline, go to the menu and select Type > Create Outlines (or press Shift + Ctrl + O on Windows / Shift + Command + O on Mac).
Embossing or Debossing
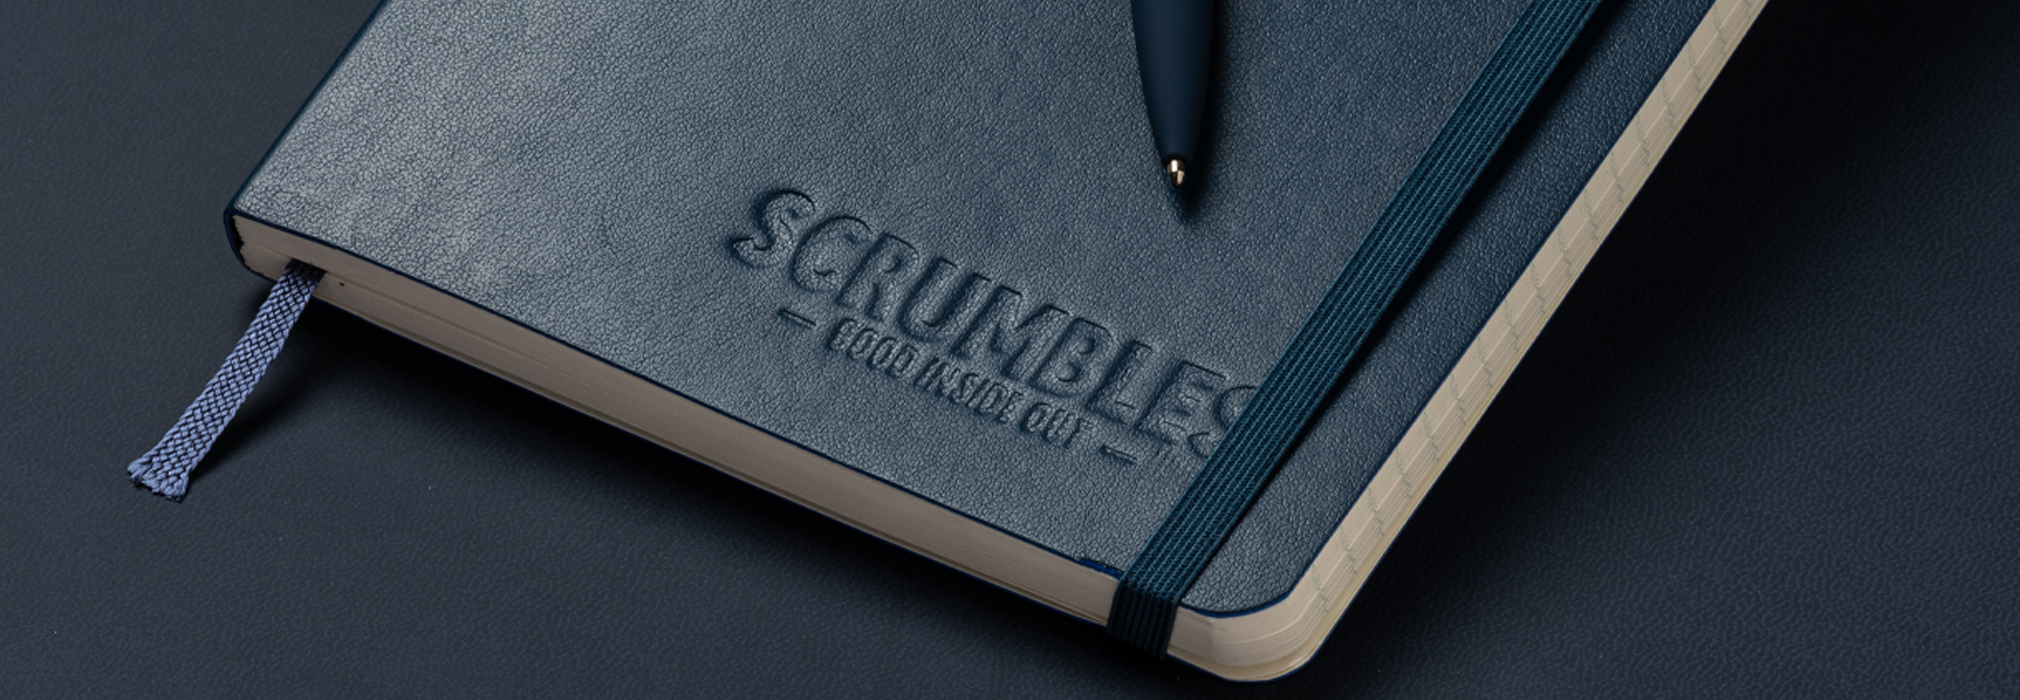
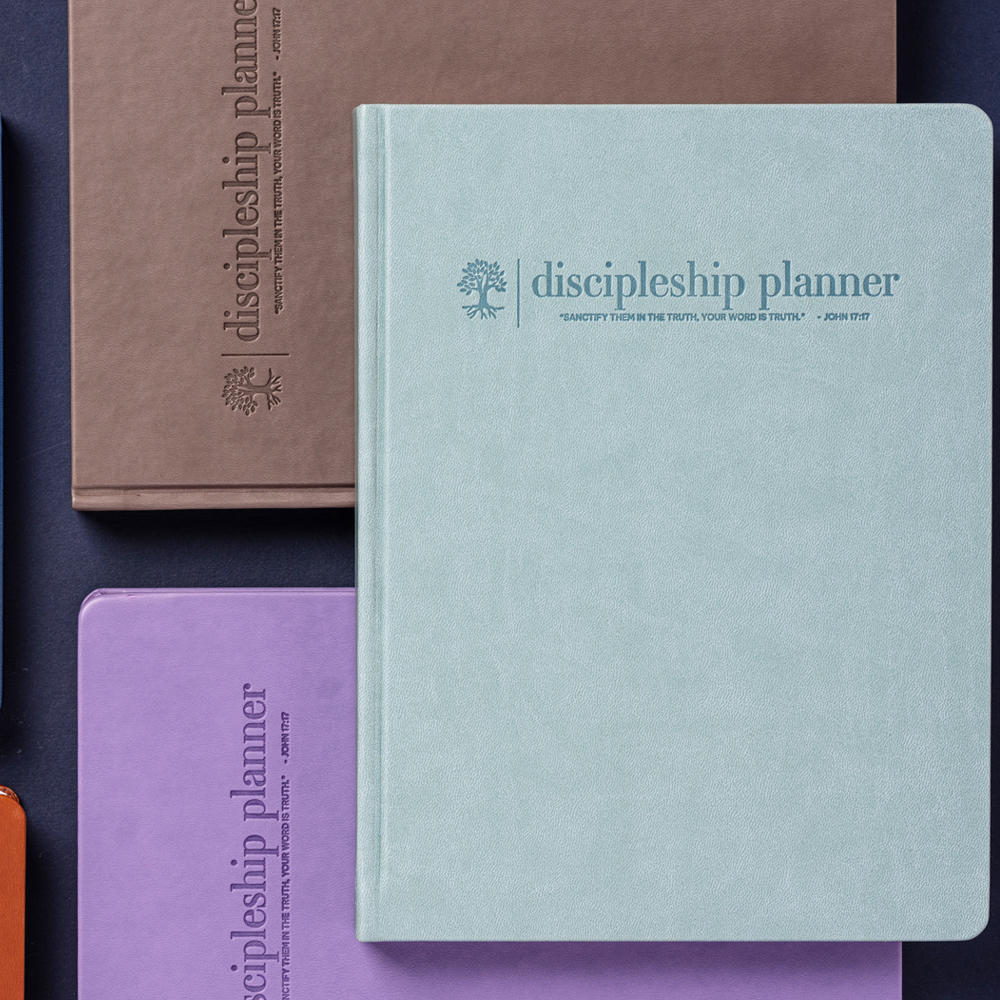
Debossing is our most popular customisation method which is suitable for all materials. It’s a customisation technique which leaves a colourless impression of a design or logo on the cover of your notebook.
What is Debossing and Embossing
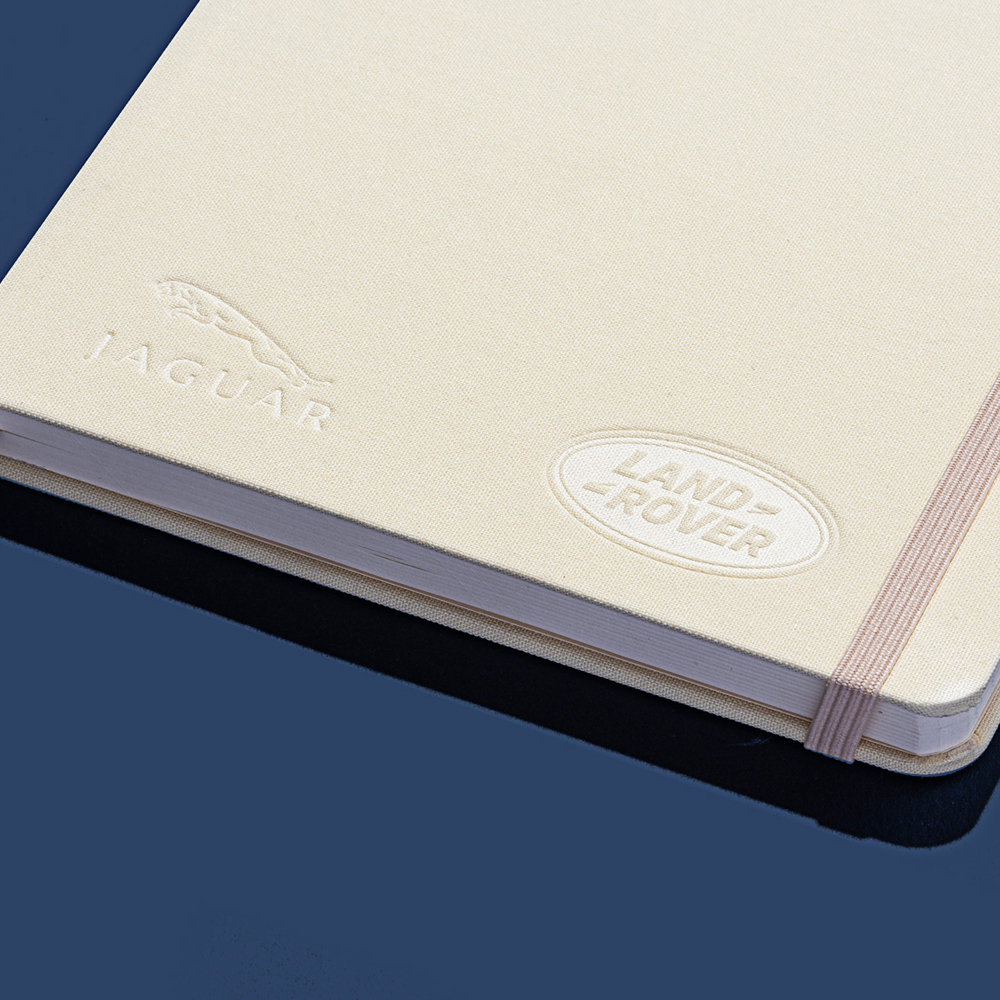
Debossing and embossing are techniques used to press a design or logo into a material leaving the design’s impression. Both methods involve the creation of a brass die which is then heated, and pressed into the material surface. Debossing is preferred for a subtle, long-lasting effect, while embossing is used to make a design stand out visually and to the touch.
- Debossing pushes the design into the material, creating a recessed impression. This results in a design that is pressed in and more durable, especially for items that are frequently handled, like notebooks.
- Embossing, on the other hand, raises the design above the surface, giving it a three-dimensional appearance.
Why Deboss your notebooks?
- We can deboss a full bleed design or a simple small logo
- A debossed logo gives a classic and elegant look to your journal
Please note that complex artworks may lose some detail if there are any intricate parts within the design, to avoid any detail loss you can read the Do’s and Don’ts below.
Do: Deboss faux leather materials
Don’t: Deboss cloth fabrics
Can I deboss my logo on any notebook?
Yes, pretty much. Debossing can be achieved on all kinds of material, from card to leather including cloth. Best materials for debossing are:
- Faux Leather
- Real Leather
- PU / Vegan leather
- Cloth
Some faux leather journals are thermo reactive, like the Castelli Tucson notebook or Bookblock Toucan. This results in a lovely contrasted two-tone effect. Debossing on card creates a similar outcome to a letterpress.
We don’t recommend intricate or complex debossing on cloth or heavily textured faux leathers as detailing can be lost. We are also unable to brand within 8mm of the spine this is to allow for the hinge of the cover.
Do’s
- Get creative with your design
- Consider the material your cover will be and how well it will show
- Add more depth to your design with coloured foil
- Emboss and Deboss designs can be placed on the notebook spine, ensuring this is at least 2mm away from the left and right edges of the spine.
Dont’s
- Don’t use small fonts as nothing lower than 11pts will be legible
- Do not include elements that are less than 1.0 point thickness
- Don’t use text which has any spacing less than 1mm
- Don’t place your design too close to the edges of the notebook unless it’s a full bleed design
- Do not deboss or embed notebook / album slipcases