

Cover Artwork
When creating your custom notebook cover, it’s essential to provide artwork that is correctly formatted for the specific customisation technique you choose. Below are the key types of customisations we offer, along with the artwork requirements for each.
To start your design process we will provide you with an editable PDF template which you can then populate with your own design. Usually the templates will include all of the necessary bleeds and marks but we ask that you double check everything is still in place when you finalise your template design. Also ensure that all of the design elements you have added meet our requirements.
Artwork Setup Notes
Always provide logos in vector format (.AI, .EPS, .PDF) for sharp and scalable results.
-
- Vector Files: Typically created in Illustrator, vector files can be scaled infinitely without losing quality and are usually in formats like SVG, EPS, or AI. In contrast, most online images are rasterised (JPG, PNG), which are pixel-based and lose quality when resized.
All printed artwork should be submitted with the correct colour profile (CMYK) and a resolution of 300 dpi. For precise colour matches we also recommend providing any solid colour designs as a Pantone in either U or C.
-
- Colour profiles define how colours are represented in your artwork. CMYK is used for print, while RGB is used only for screens. Adobe suite applications let you set the correct colour profiles to ensure accuracy in how colours appear in print versus on-screen.
- Pantone C (Coated): Designed for coated paper with a glossy finish, resulting in vibrant, saturated colours. Ideal for high-quality prints like brochures, notebook covers and packaging.
- Pantone U (Uncoated): Meant for uncoated paper with a matte finish, leading to softer, muted colours. Commonly used for notebook inside pages and cards.
If you are featuring a pantone colour within your design then you need to embed the pantones within the file using the Pantone Connect extension. To embed your file simply:
- Open the Pantone Connect extension and select either the Solid Coated V5 or Uncoated V5 colourbooks.
- Select the shape or text you wish to fill with colour
- Select a pantone colour inside the Pantone Connect panel
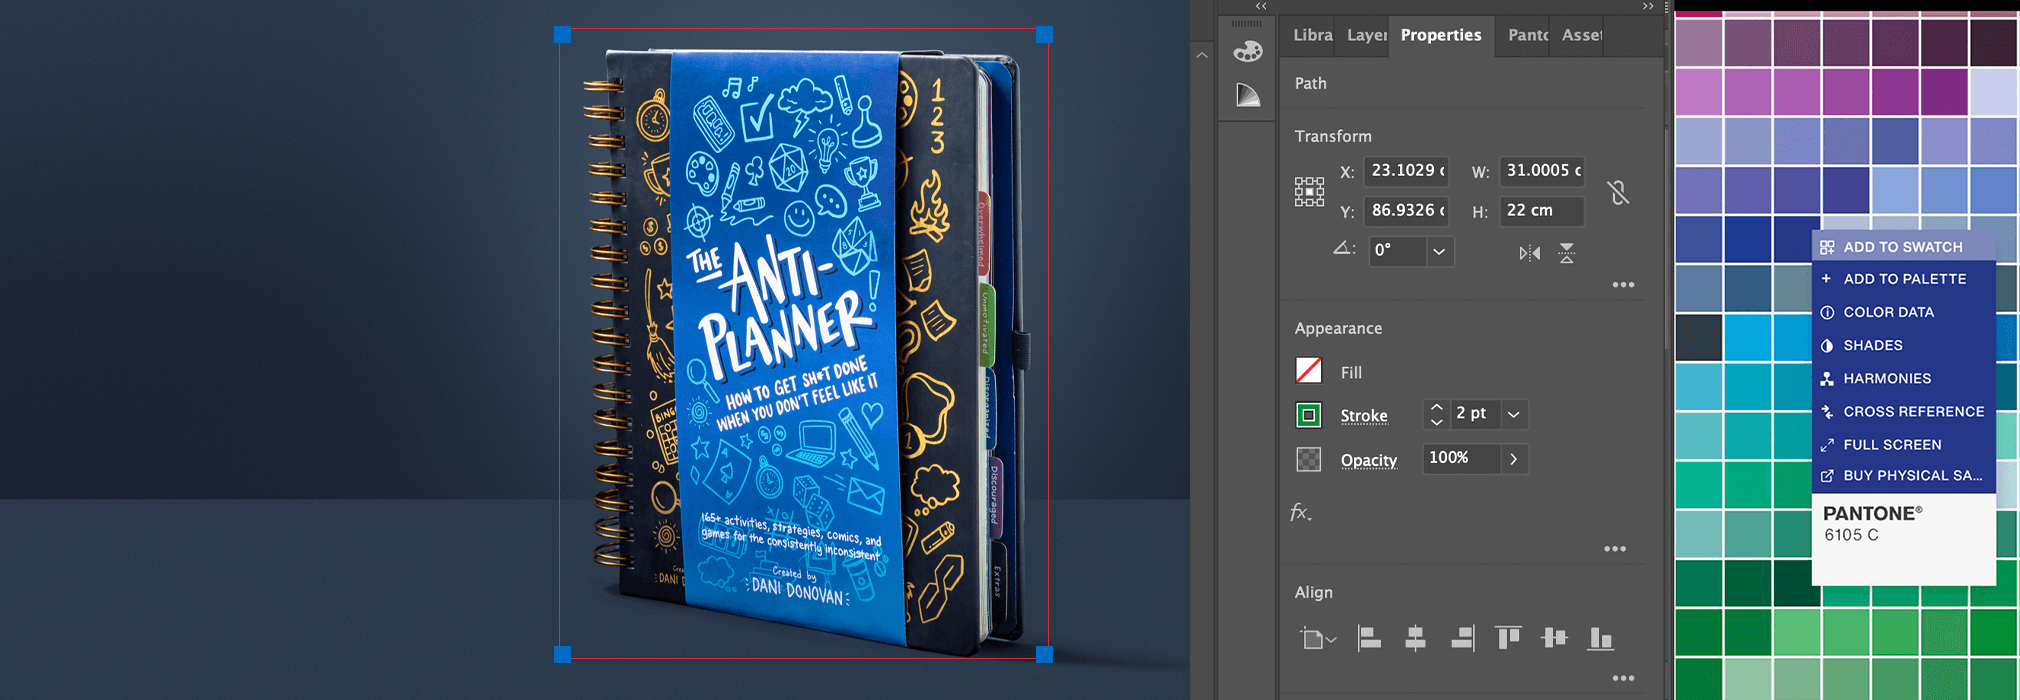
- Click the three dots shown within the pantone swatch and select ‘Add to Swatch’
If you then click into the properties panel and double click the FILL section you will see all of the embedded pantones.
If you do not have access to the Pantone Connect extension we will accept the file with CMYK profiles. We will require you to provide us with the exact pantone codes you wish us to use.
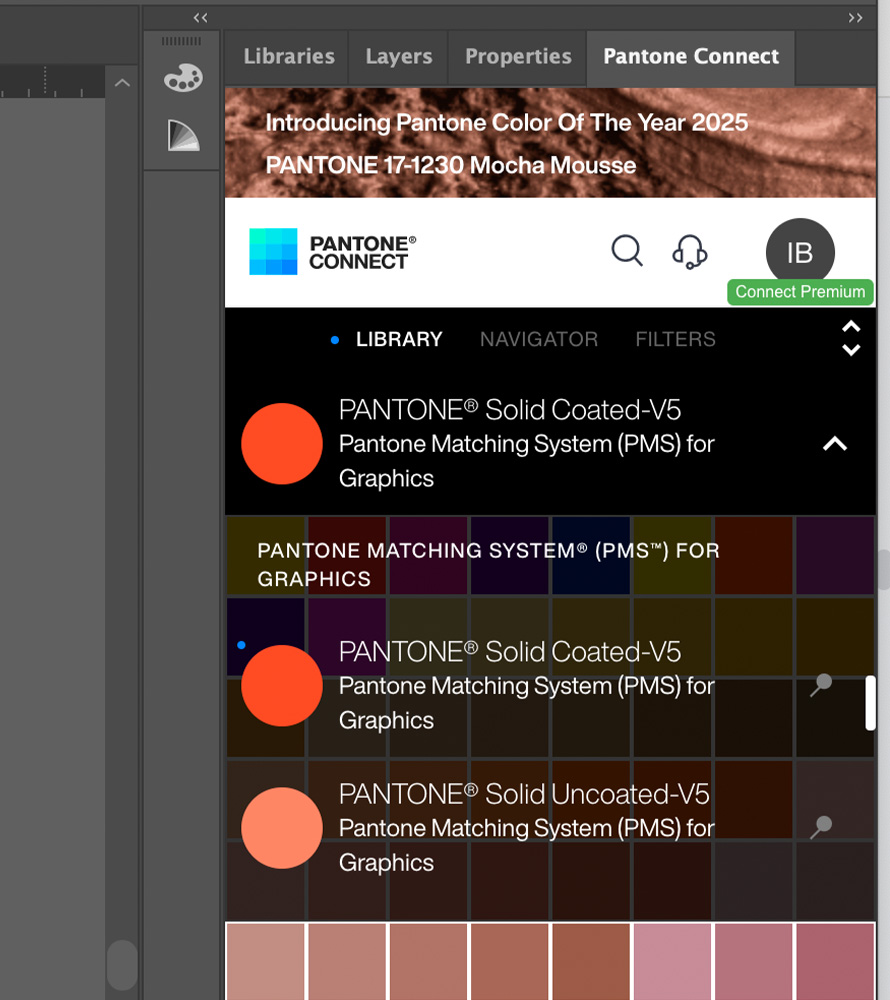
Choose Pantone Coated or Uncoated colourbook
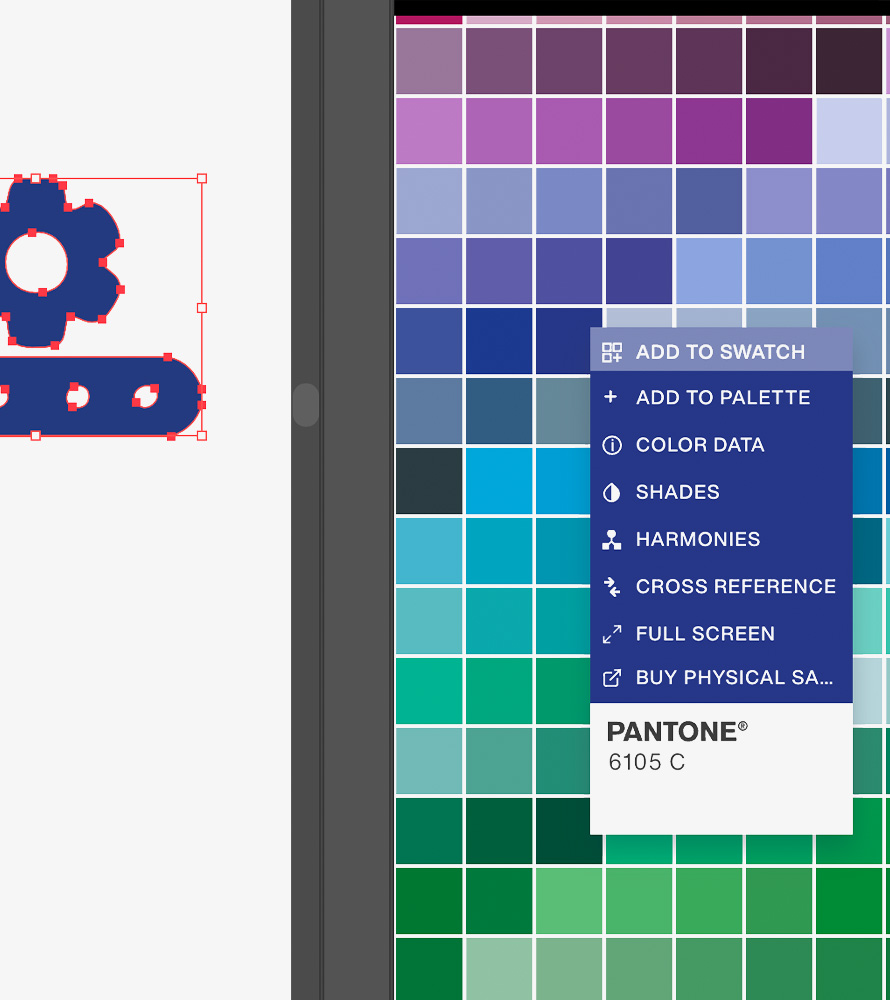
Right click pantone colour to add to swatch
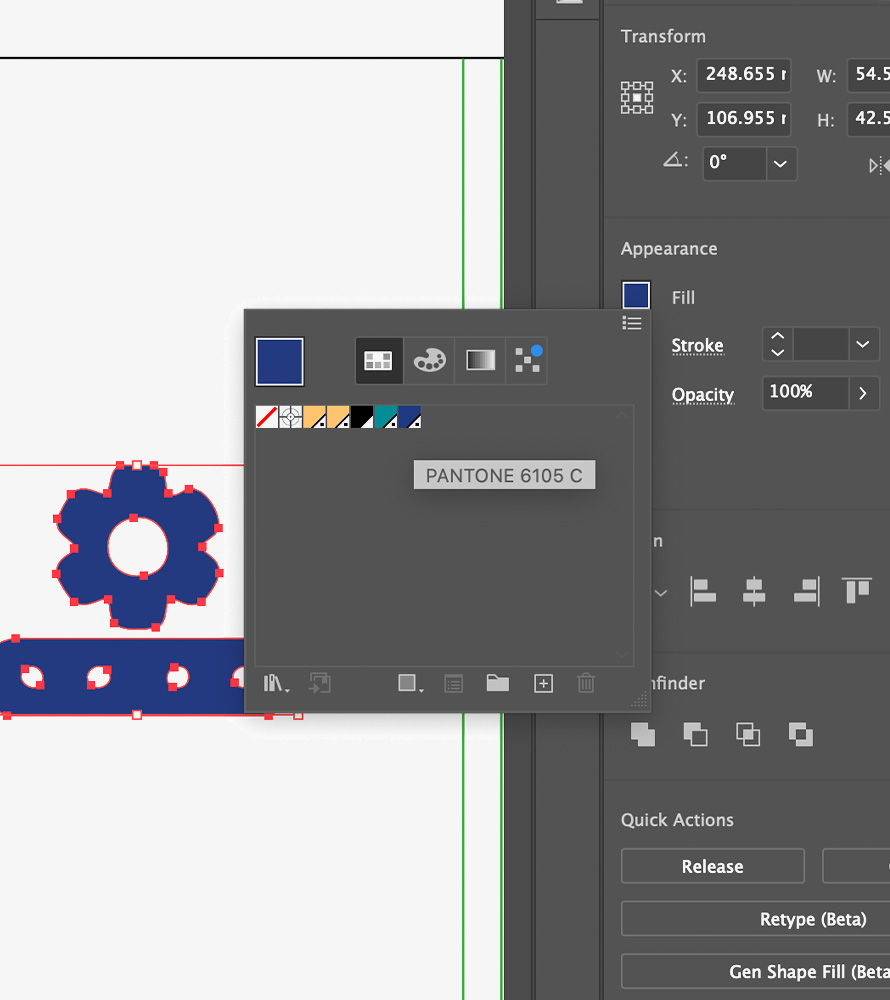
See your pantone in swatches
Include a 5mm bleed in your design to prevent any unintended cropping during the production process.
-
- Bleeds are areas of your artwork that extend beyond the edge of the final printed page. They ensure that there are no white borders when the paper is trimmed. We require a bleed of 5mm to be added to your full print files.
- Bleeds are areas of your artwork that extend beyond the edge of the final printed page. They ensure that there are no white borders when the paper is trimmed. We require a bleed of 5mm to be added to your full print files.
All imagery must be embedded in your files , this ensures that there are no broken links when files are supplied for print.
-
- Embedding links: When creating your artwork you must embed all external files such as images or fonts, directly within your document. When you embed a file, it becomes part of the document, ensuring that it will always appear as intended and will avoid any broken links.
Outline your text, before sending artwork to print it’s important to outline all the text in your file. When you outline your fonts, the software displays all of that as shapes rather than a font file. This will ensure that there are no missing fonts or changes in typography styles when files are supplied for print.
-
- How to: Select the text you want to outline, go to the menu and select Type > Create Outlines (or press Shift + Ctrl + O on Windows / Shift + Command + O on Mac).
Prepare the text in your design
Vectorise your text: Type > Create Outlines
- It’s essential to organise your file in the correct sequence to match the final printed product. This includes paying extra attention to the Pagination of your files.
How To: In InDesign create a text box in the place where you want the page number to be (usually bottom outside corner) then in the menu click Type > Insert Special Character > Markers > Current Page Number.
Cover Customisation Types
Follow the links below to see instructions on how to set up artwork for each customisation.
Foiling – Your logo is moulded on a brass die and heated before a coloured film is placed between the die and the cover, leaving a coloured impression in the shape of the die (usually your logo).
Debossing/Embossing – Your logo is moulded on a brass die, heated and impressed into the cover of your notebook leaving an impression in the shape of the die (usually your logo).
UV Printing – Using a UV printer we can print CMYK+W (Cyan, Magenta, Yellow, Black + White) designs on any material. Perfect for small designs (logos or icons) as well as full bleed designs.
Fully Printed Covers – We print your full bleed design on a white paper to let the colours pop nicely and then we coat the cover with a protective laminate.
Spot UV Varnish – Spot UV varnish adds a glossy layer of varnish on top of any material. This allows sections of your designs to stand out by giving it a shiny effect.
Screen Printing – Screen printing is a technique whereby a mesh is used to transfer ink onto a material, except in areas that are sealed off by a blocking stencil. We can screenprint in one or two block colours on any material.
Embroidery – We use an industrial machine to stitch your logo on the cover of your notebook. This can only be done on heavy weight book cloth and if the design includes no fine lines.
Die Cutting – Create a ‘window’ style cutout designs by laser cutting sections of your card cover or inside notebook pages.
Monogramming – UV Print, Deboss or Foil individual people’s initials on the cover of your notebook.
Gilt Edging – Gilt edging paints the edges of your notebook pages with a solid colour or foil to add a striking visual effect when the notebook is closed.